Profiler+ Workflow
In this workflow, you will retrain an Ultralytics model, revalidate it using edgefirst-profiler, and compare your results against the EdgeFirst Model Zoo on Hugging Face baselines. Models can be deployed in the browser or on a compatible target device.
Create an Ultralytics Training Session
-
Click on "Model Experiments" of your created project
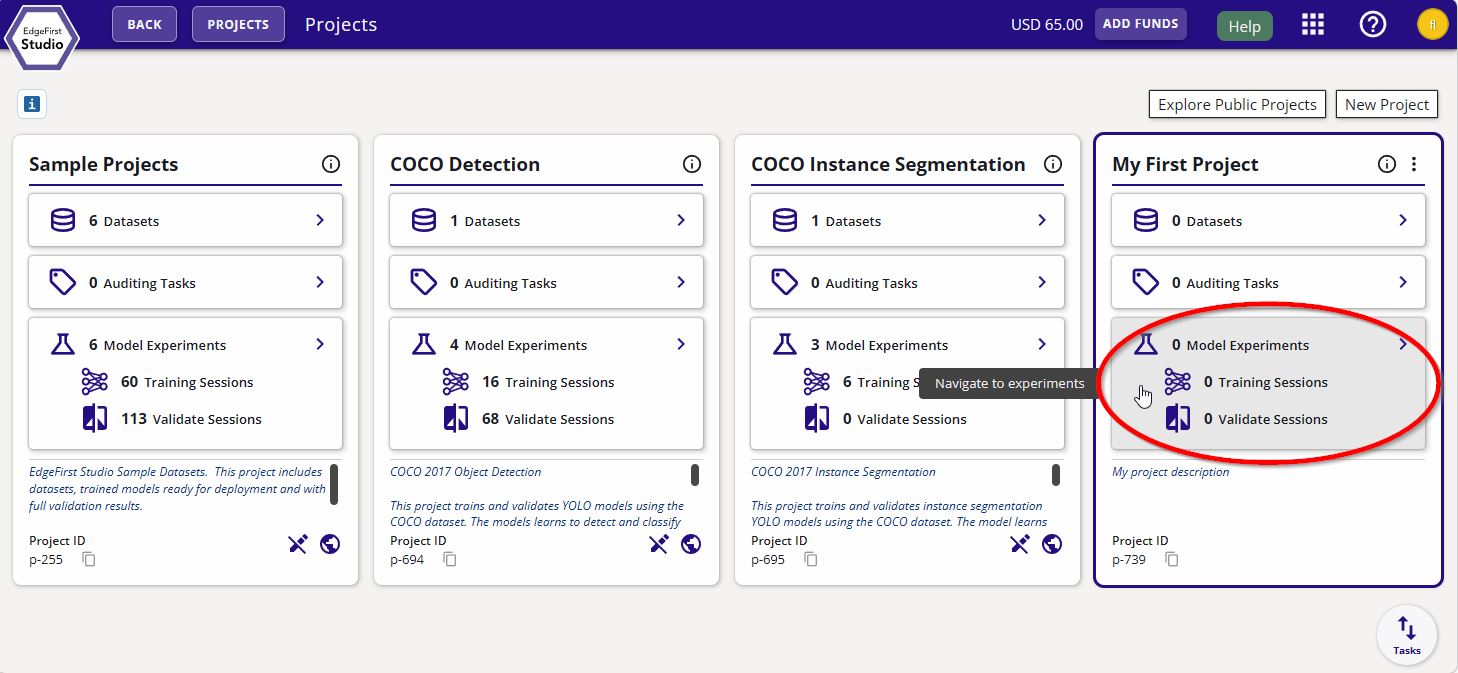
Model Experiments Page -
Create a new experiment
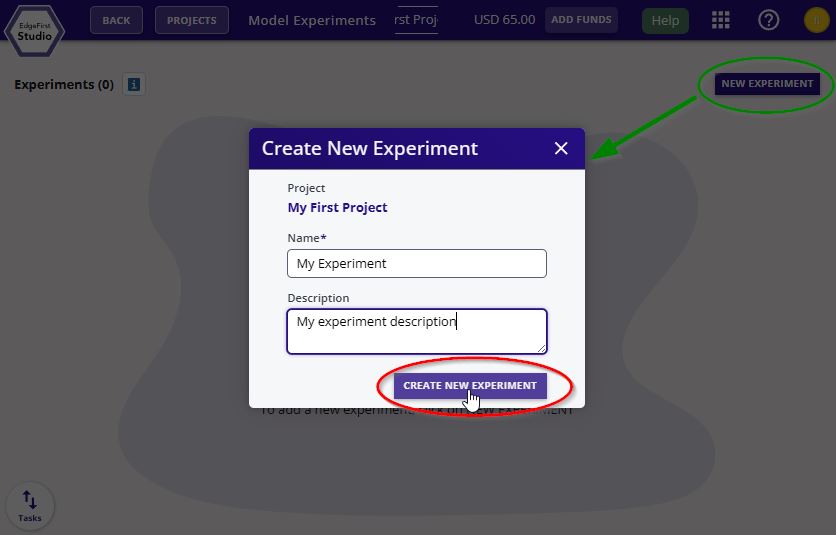
Model Experiments Page -
Navigate to the "Training Sessions"
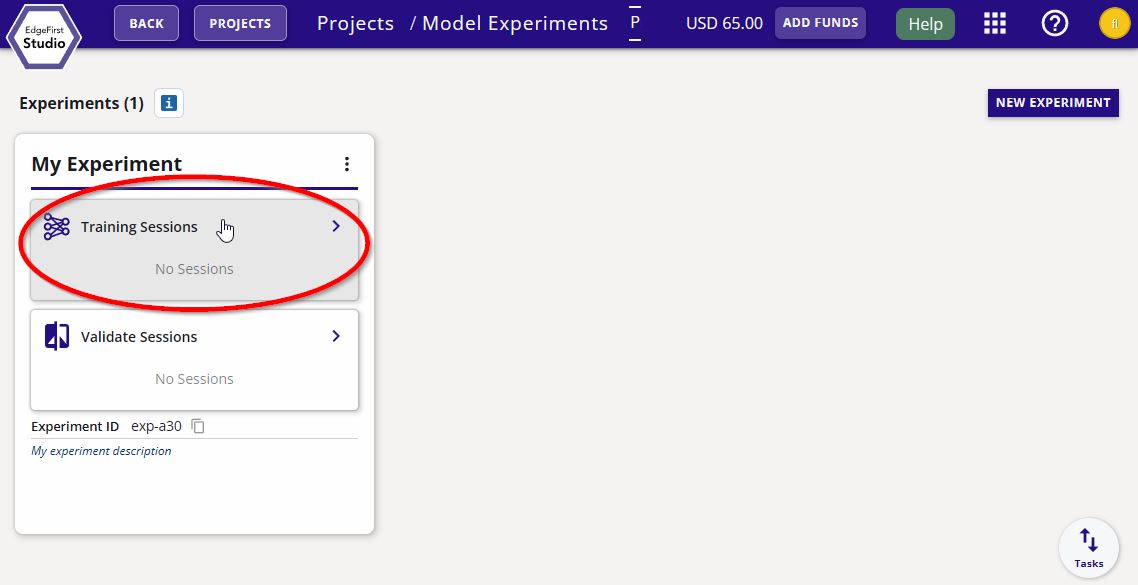
Training Sessions -
Create a new training session by clicking the "Actions" dropdown menu on the top right of the page and then click the "+ New" button
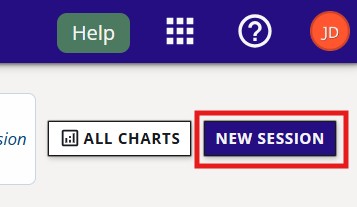
New Session Button -
Start a YOLOv8n detection model by following these settings. Once the settings are set, click on "Start Session" at the bottom of the window
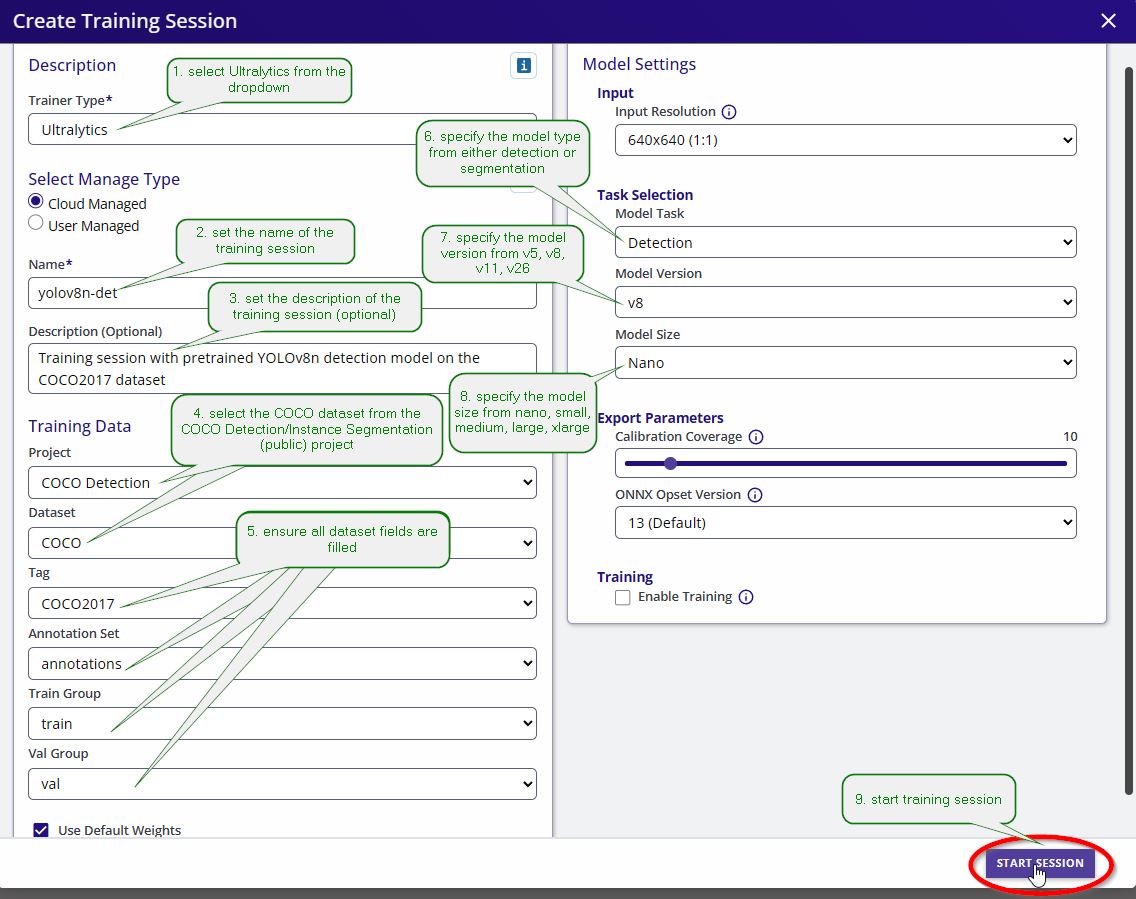
Ultralytics Training Settings This will start a training session in progress.
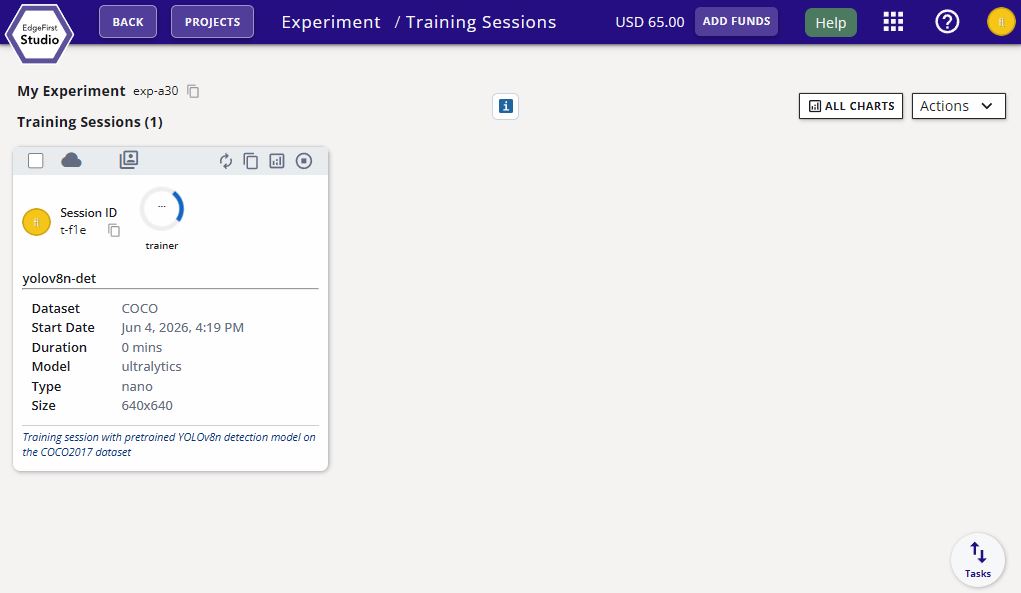
Ultralytics Training Progress InsufficientInstanceCapacity

If you see this error after starting your training session, retry creating the session. This can happen when AWS reports that no EC2 instances are currently available to launch; the current workaround is to retry.
No Training Charts
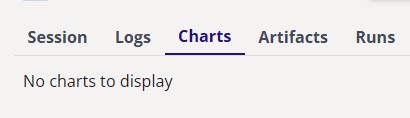
Training sessions configured without epochs will not generate loss or metric charts, since the chart x-axis is epoch-based. This is expected behavior.
-
The completed training session should look like the following
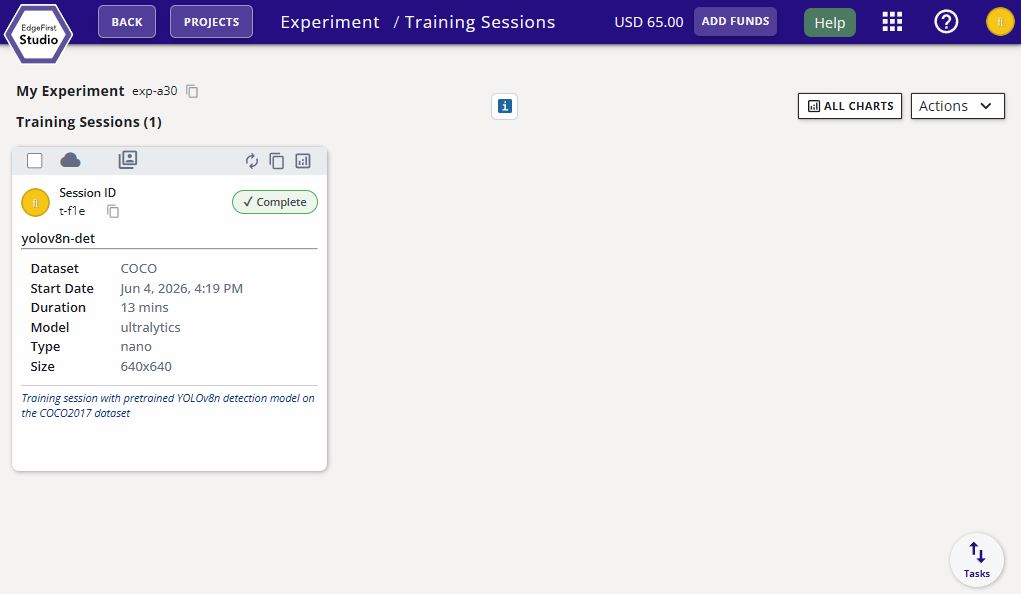
Ultralytics Training Completed -
We support model conversion and optimization workflows that enable trained models to be deployed on a wide range of target platforms and hardware architectures.
Follow the model conversion workflow that corresponds to your target platform. If you are deploying to a Windows/Linux PC or macOS system, you can skip this section and proceed directly to the next step to validate the ONNX model, which is automatically generated as part of the training session outputs.
If you are deploying to one of the supported hardware platforms listed below, follow the platform-specific conversion instructions for your target device.
Converter Supported Targets Output Format Docs TFLite Converter NXP i.MX 8M Plus (VIP8000), generic CPU/NPU TFLite delegates .tfliteflatbufferTFLite Converter Neutron Converter NXP i.MX 95, i.MX 943/952, S32N79, MCX N54x/N94x, i.MX RT700, S32K5 .tfliteflatbuffer with Neutron microcodeNeutron Converter TensorRT Converter NVIDIA Jetson (Orin Nano Super validated; broader lineup in progress) .tensorrt.zipbundle (engine built on-device)TensorRT Converter Ara2 Converter NXP Ara240 DNPU .dvmDataflow Virtual Machine binaryAra2 Converter Hailo Converter Hailo-8 (26 TOPS), Hailo-8L (13 TOPS) .hefHailo Executable FormatHailo Converter -
All converted models should appear under the model artifacts of the training session card. Click on the training session card to expand for more details.
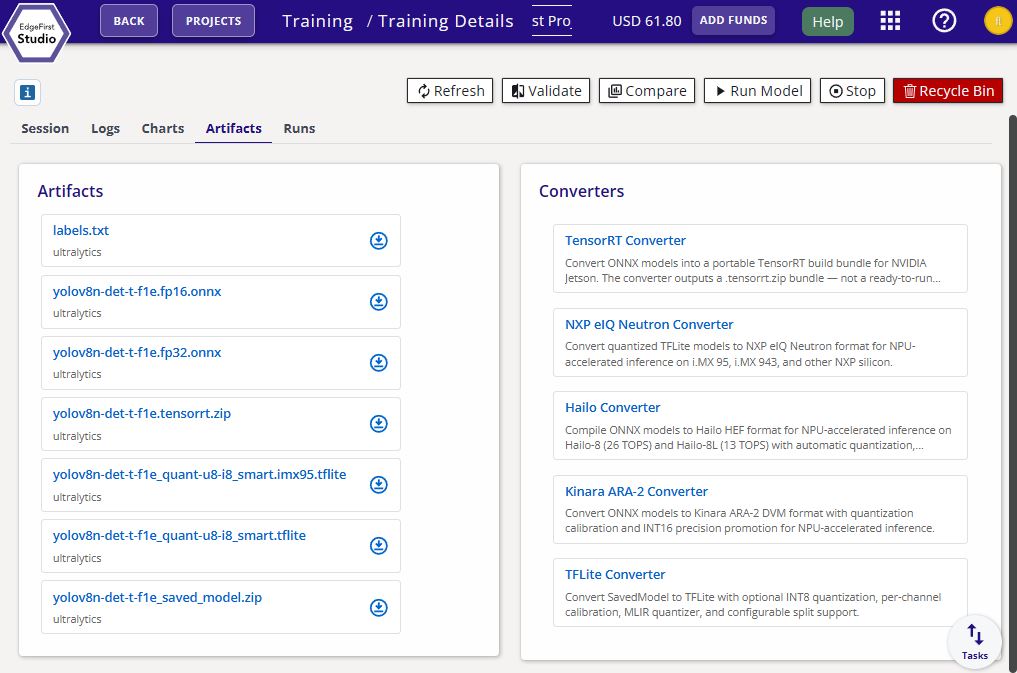
YOLOv8n Detection Model Artifacts Once you have converted your model, you can proceed towards profiling and validating the performance of your model next.
Validate on Target with the EdgeFirst Profiler
The Profiler+ workflow validates your model directly on your target hardware — not in the cloud. This gives you real inference latency, NPU utilization, and per-stage timing alongside accuracy metrics.
Cloud validation not used here
Cloud validation only supports ONNX, Keras, and TFLite artifacts running on a cloud instance. On-target profiling with the EdgeFirst Profiler supports all converted formats (.tflite, .hef, .dvm, .tensorrt.zip) and measures real hardware performance.
Install the profiler
pip install edgefirst-profiler
curl -fsSL https://raw.githubusercontent.com/EdgeFirstAI/profiler-cli/main/install.sh | bash
Confirm the install:
edgefirst-profiler --version
For per-platform guides including NPU delegate setup, see the Profiler Installation section.
Sign in to EdgeFirst Studio
edgefirst-profiler login
The interactive prompt asks for server, username, and password. Credentials are saved locally and refresh automatically.
Run a validation session
Launch the profiler TUI:
edgefirst-profiler
Press F2 to open the Studio screen, then navigate to your training session:
Projects → Experiments → Training Sessions → Artifacts
Select the converted model artifact that matches your target hardware and choose Validate. The profiler creates a validation session in Studio, downloads the model and dataset to the device, and starts the run automatically.
The F4 Profiler dashboard streams iteration-level latency and per-stage timings live during the run. When complete, predictions and the timing trace upload to EdgeFirst Studio where mAP, precision-recall curves, and the trace viewer are generated.
For the full walkthrough see Profiler Quick Start and Validation from the Profiler.
Compare Results to the Model Zoo
After validation, compare your results with the EdgeFirst Model Zoo on Hugging Face to see how close your model is to the published baselines.
Focus on:
- Task match: Use the same task type (detection, segmentation, classification) as your training run.
- Input modality: Compare vision-only models against vision-only baselines, and fusion models against fusion baselines.
- Metric alignment: Match the primary metric (for example, mAP or F1) to ensure an apples-to-apples comparison.
- Latency vs accuracy: Look at accuracy and throughput together to understand the practical edge tradeoff.
Next Steps
Want to learn more?
- EdgeFirst Profiler
- Deploy the ONNX model in the browser
- Want to annotate your own dataset and train from scratch? Follow the Auditor Workflow.