Copy Sample Dataset
Now that you have created your own project, you will need a dataset inside your project which you will use to train your model.
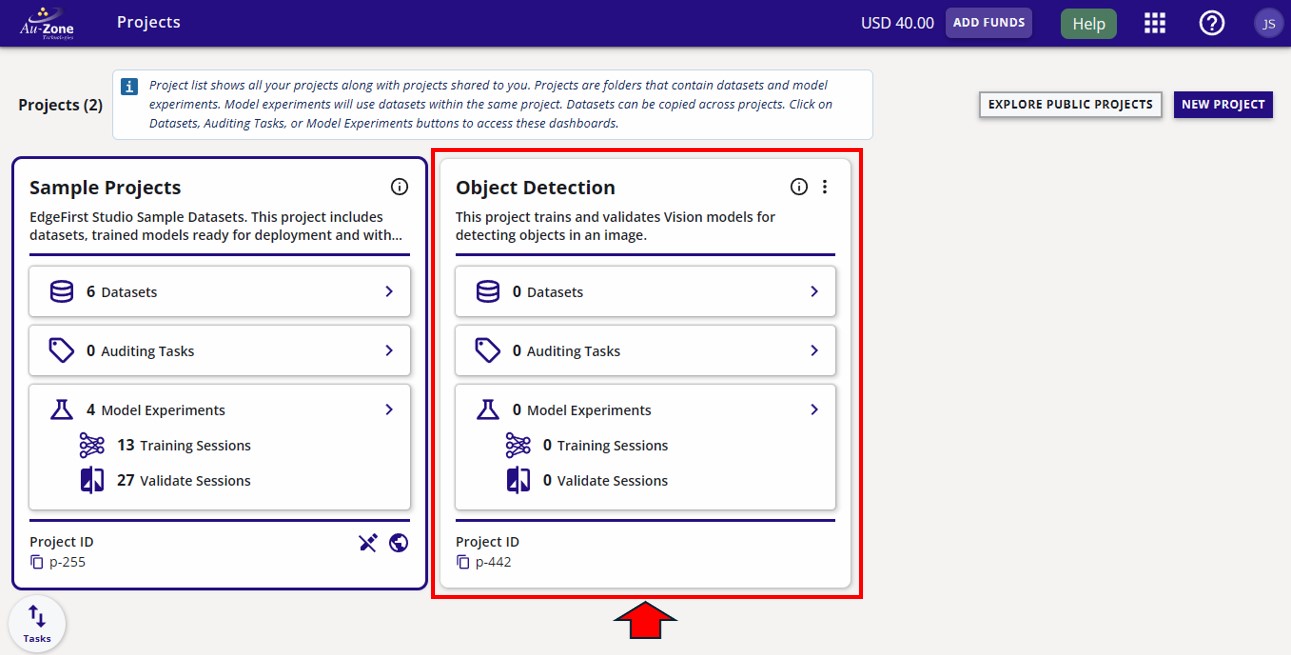
Under "Sample Project", click the "Datasets" button.
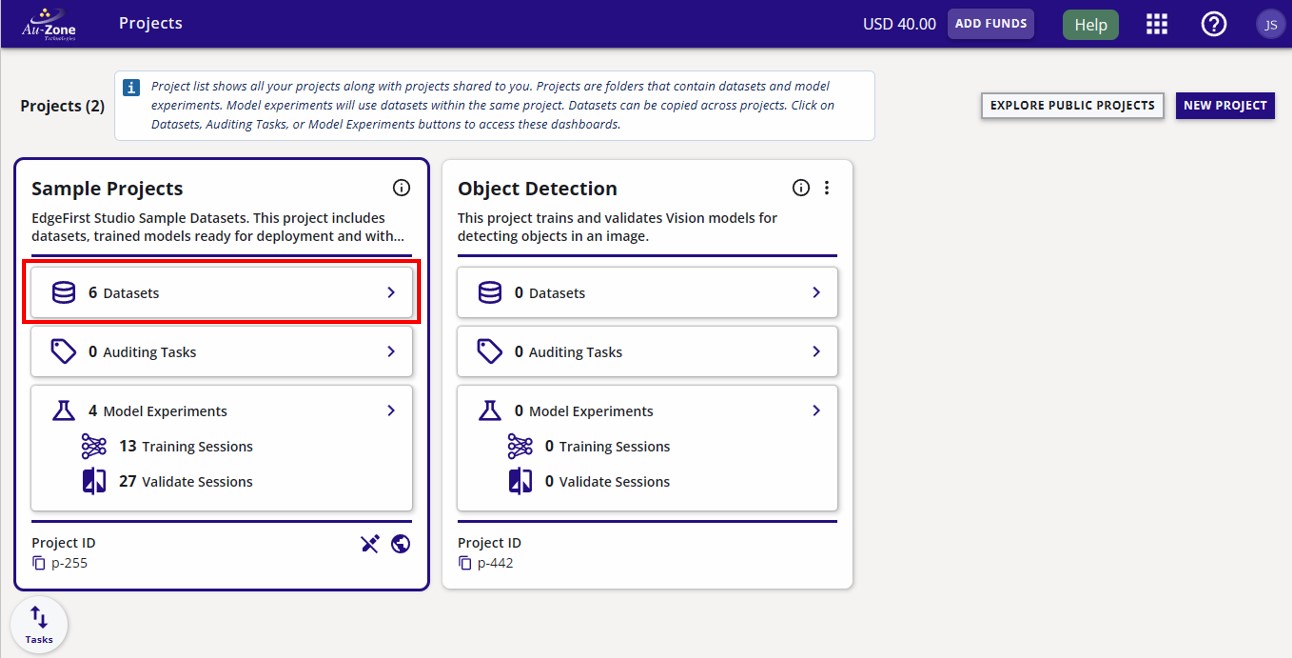
Inside "Sample Project", you will find a sample dataset called "Coffee Cup". You will be copying this dataset to train a model that detects coffee cups on images.
Copy Dataset
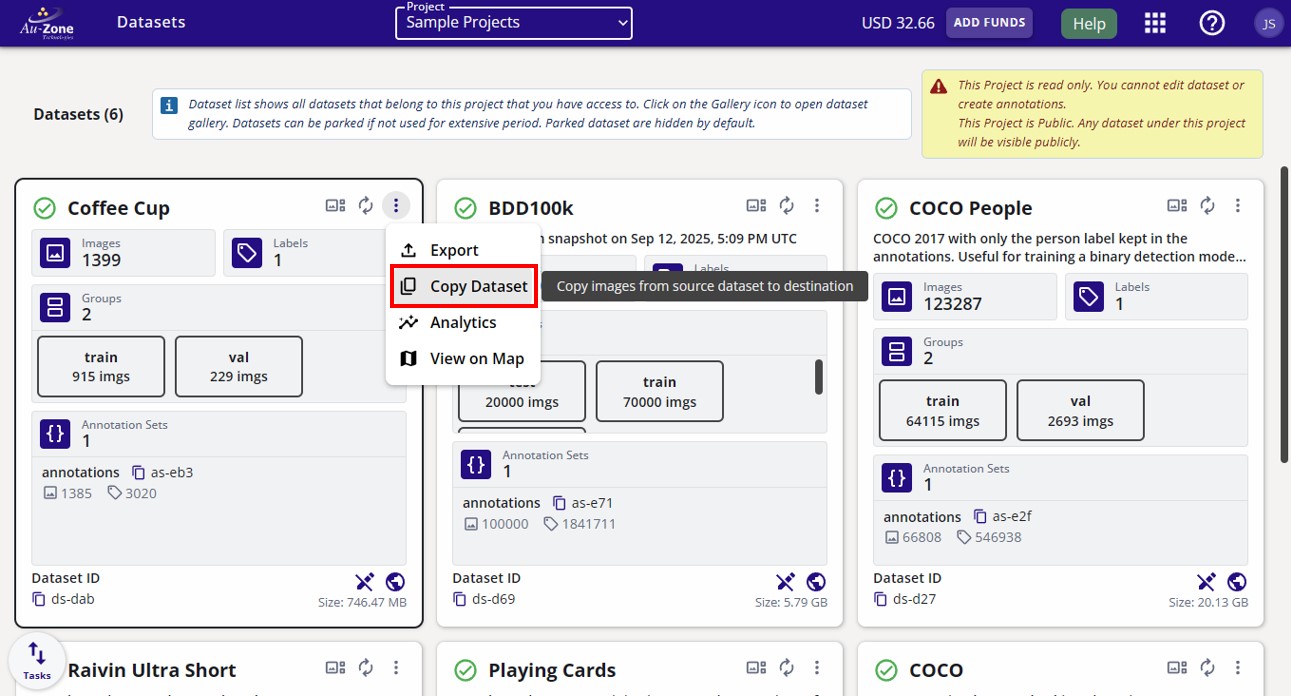
To copy a dataset, navigate to the dataset you would like to copy. On the dataset card, select "Copy Dataset" from the dataset options as shown below.
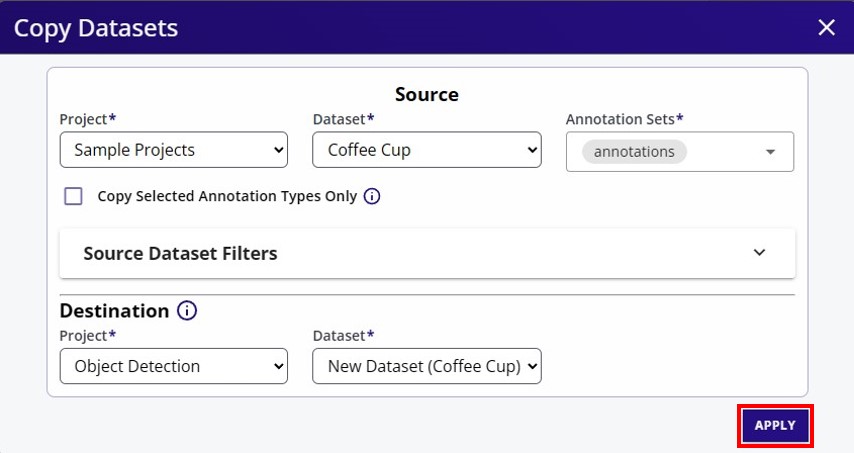
This action opens a dialog where you can specify the source and destination for the dataset copy operation.
- Source: The current location of the dataset being copied. This field is automatically populated with the dataset card you selected before opening the dialog.
- Destination: The location where the copied dataset will be created.
In the example below, the source is the "Coffee Cup" dataset in "Sample Project". The copied dataset will be created in the location specified by the destination fields.
By default, the copy operation creates a new dataset container in the selected destination project. Alternatively, you can create a dataset container before starting the copy operation and then select that existing container as the destination.
Once you have made your selection, click "Apply" at the bottom right to start the copy process.
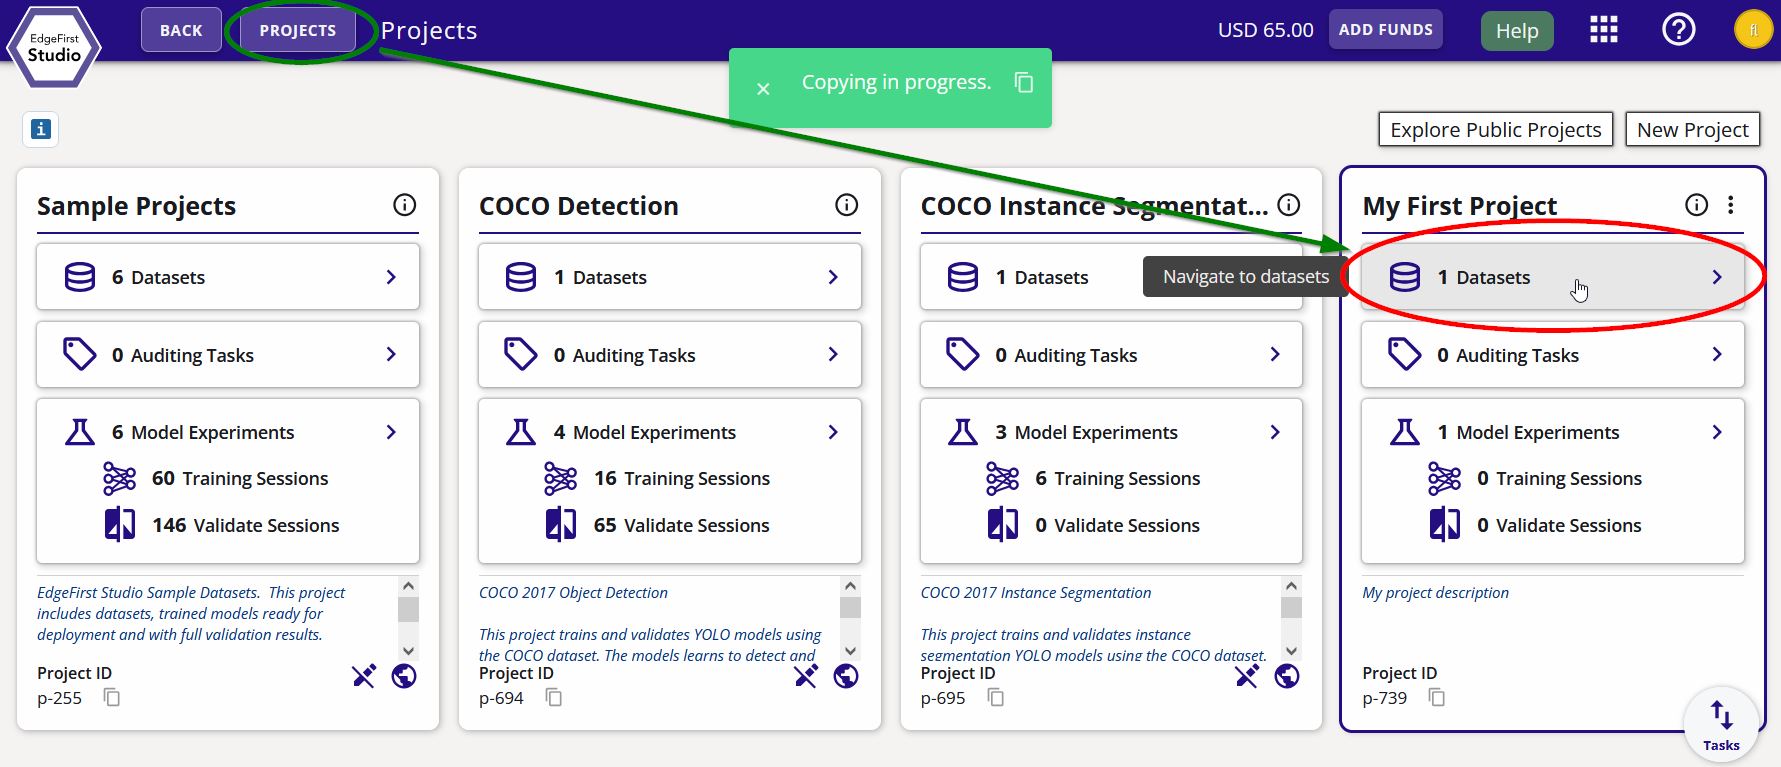
You can navigate to the copied dataset by clicking the "Project" button and then clicking on the "Datasets" button on your project as shown below.
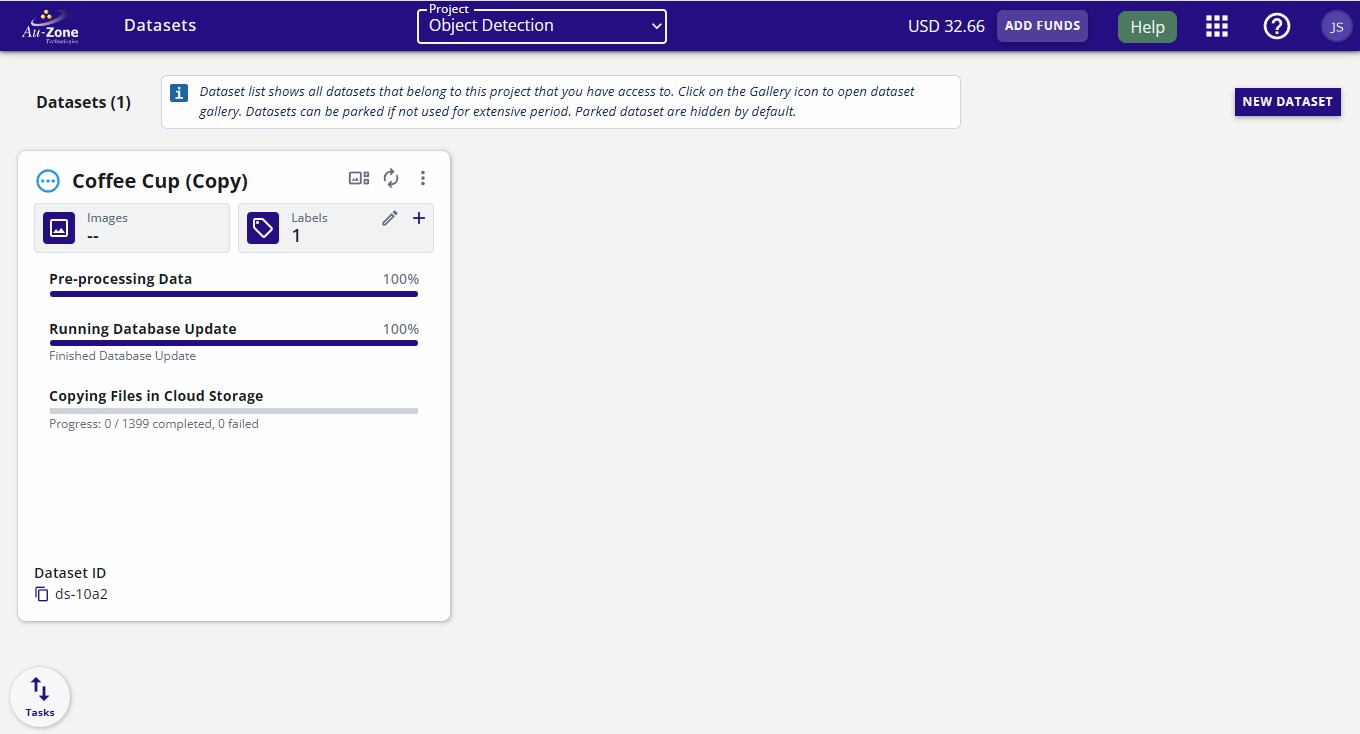
The progress for the dataset copy will be shown on the dataset card.
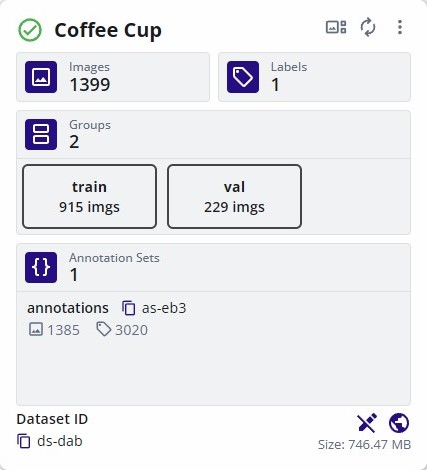
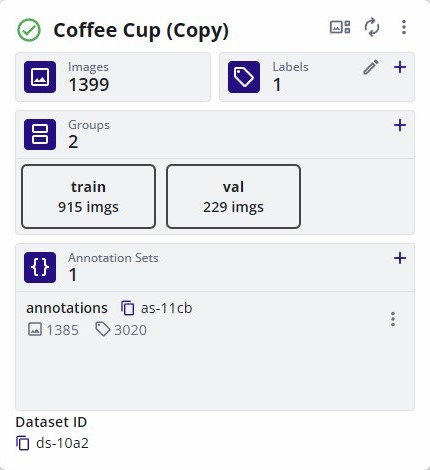
Once the copying process completes, the frames and the annotations would have been copied.
| Original Dataset | Copied Dataset |
|---|---|
 |
 |
Tag Dataset
Before a dataset can be used for training, it must be tagged. To preserve its current state, assign a version tag to the dataset.
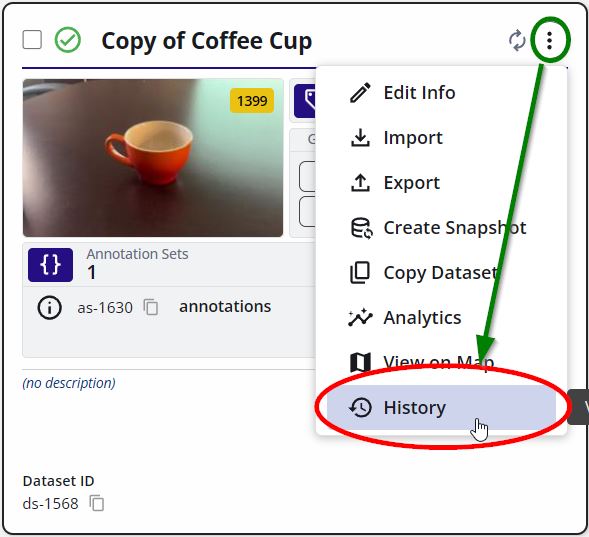
Click on the dataset options at the top right of the dataset card (three vertical dots). Then click the "History" button.
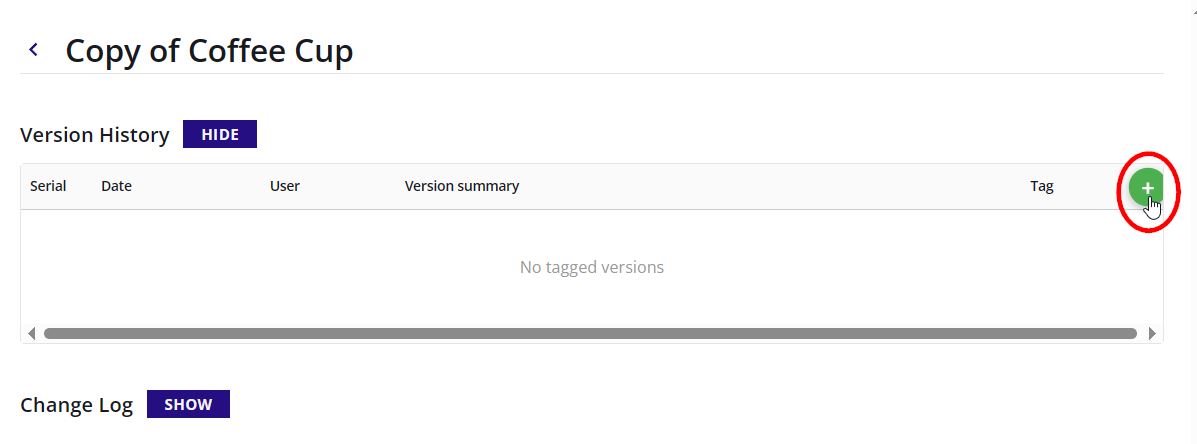
Add a new tagged version of the dataset by clicking the + green button on the right of the page as shown.
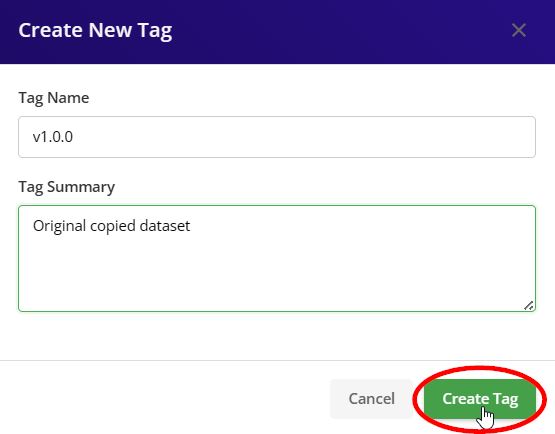
Specify the tag version and tag description. Click "Create Tag" to tag the dataset.
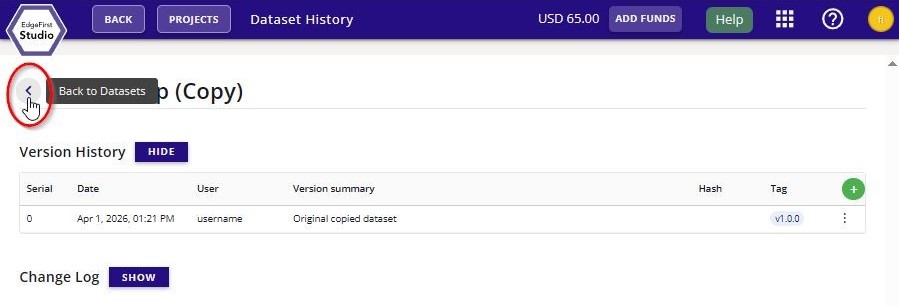
The new dataset tag will appear under "Version History" of this page. You can go back to the dataset card by clicking the "Back to Datasets" button.
Once you have copied and tagged the dataset, you can move forward to exploring the dataset to look at the images and annotations inside the dataset.