Tourist Workflow
In this workflow, you will explore the EdgeFirst Studio landing page and get an overview of the platform's features — no account required.
Explore EdgeFirst Studio
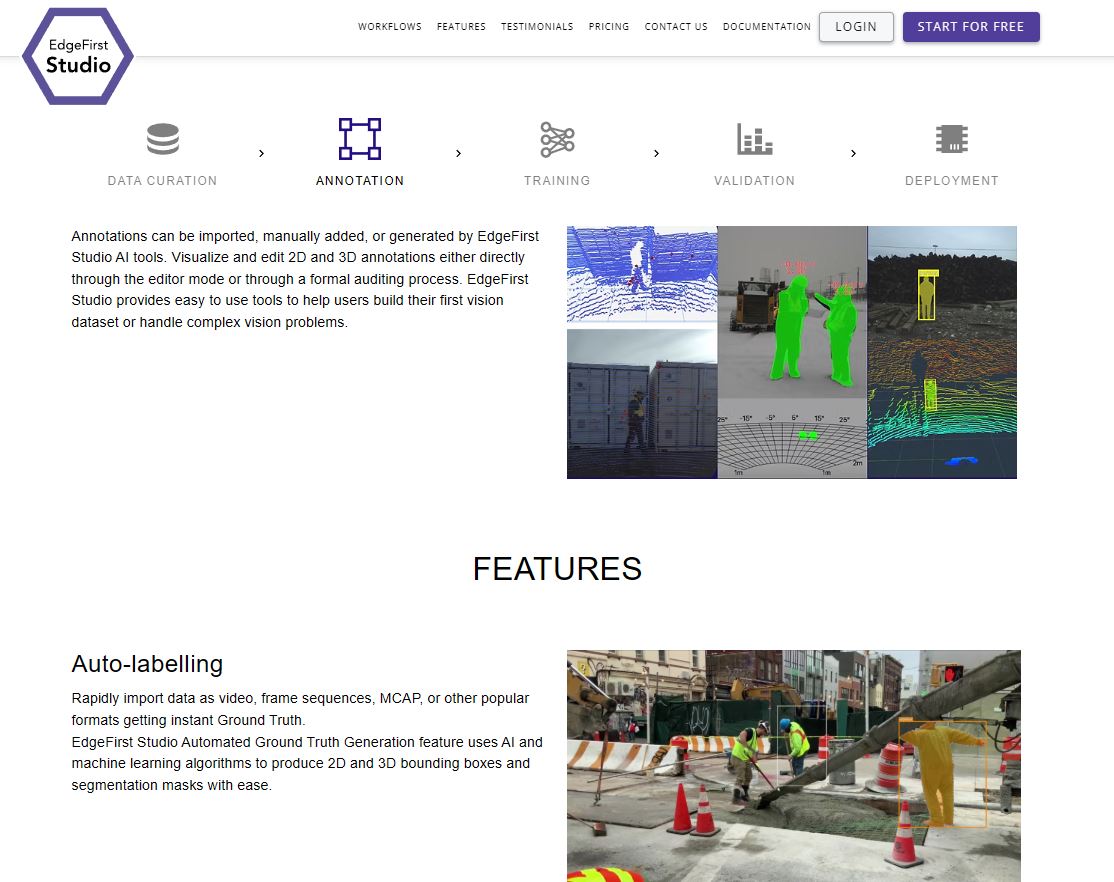
EdgeFirst Studio is accessible at edgefirst.studio. Upon visiting, you will see the EdgeFirst Studio landing page with an overview of the platform's features and capabilities — no account or sign-up is required to explore this page.
On the landing page you can:
- View the EdgeFirst Studio feature overview and product highlights
- Browse publicly available sample models in the EdgeFirst Model Zoo on Hugging Face
- Learn about the EdgeFirst Perception ecosystem and supported target hardware
Platform Features
Use the table below as a quick overview of what is visible on the landing page.
| Feature | Description |
|---|---|
| Auto-labelling | Generate 2D and 3D bounding boxes and segmentation masks from video, frame sequences, MCAP, or other formats using AI-based Ground Truth generation. |
| 3D Perception and Physical AI | Built-in support for LiDAR, RADAR, point cloud, depth maps, and other 3D sensors with editing and auditing workflows. |
| Optimize Models | Train radar and vision models (including fusion), run parallel experiments, and compare results. |
| Validation | Review model performance and compare results across experiments across targets. |
| Deployment Targets | Deploy to Maivin, Raivin, i.MX 8M Plus, i.MX 95, NVIDIA Jetson Orin, Kinara ARA-2, Hailo platforms. |
| Public Datasets | Host and access public datasets. |
| Model Benchmarking | Benchmark and profile models on edge platforms and analyze performance. |
Ready to go further?
Sign up for a free account and browse public datasets and models by following the Tourist+ Workflow.