Tourist+ Workflow
In this workflow, you will sign up for EdgeFirst Studio, log in, and browse the public datasets and models available in the platform.
Once you've signed up for EdgeFirst Studio, you can log in to begin.
Verification Email
If you log in but your credentials are not accepted, you may not have clicked the "Verify Email" link in the email. Please confirm you have done this.
-
When logging in, enter your username and password you specified. Next click the "Sign In" button to sign in.
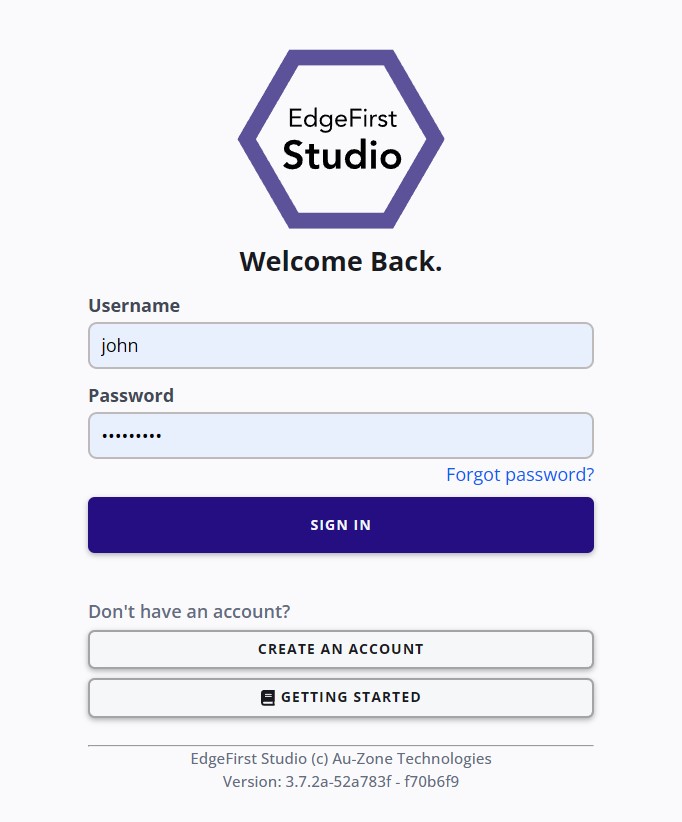
Login Page -
Once logged in to EdgeFirst Studio, you will be greeted with the following User Home Page. Click that link for more information regarding the User Home Page.
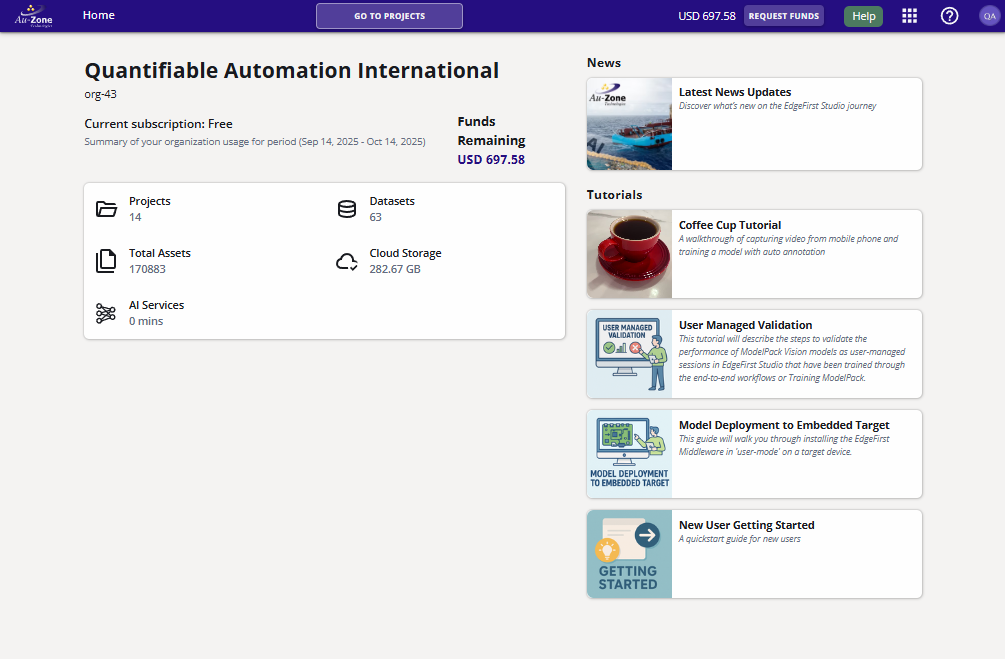
Starting Page
Browse Public Datasets
Once logged in, navigate to the Sample Project from the Home Page.
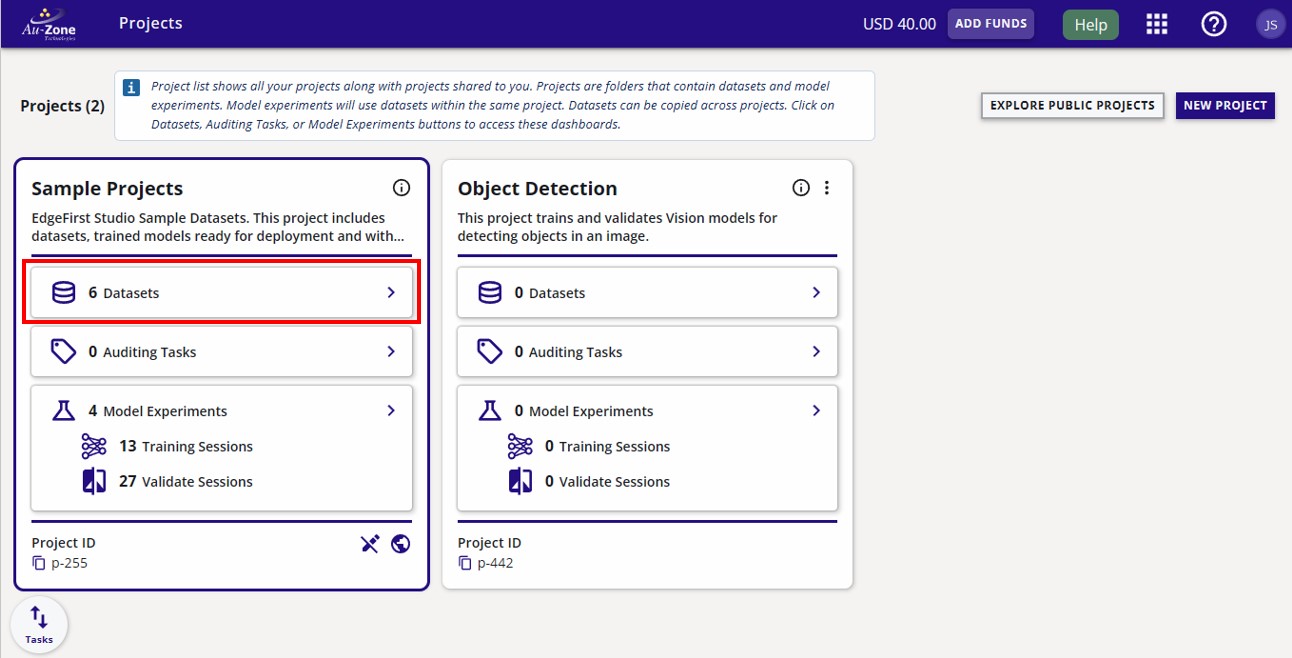
Click on any dataset card to view the dataset details, browse frames, and inspect annotations. No copying is required to explore a public dataset.
Browse Public Models
Navigate to the Models section from any project to browse available models and their associated training and validation sessions.
Next deploy any model in EdgeFirst Studio by following this guide.
Ready to go further?
To copy a sample dataset and train your own model, follow the Profiler+ Workflow or the Web Workflow.