On Cloud Validation
This tutorial walks through how to run validation in the cloud using EdgeFirst Studio. In this setup, validation is executed as a managed validation session, which runs on a self-hosted EC2 instance. This option is ideal for users who do not have access to an embedded platform to host the validation process locally.
In this tutorial, you will validate a Fusion model trained using either the end-to-end workflows or the Training Fusion guide. Note that a Fusion model performs spatial perception using Radar and Camera sensors. If you are working with Vision models, refer to Validating Vision Models.
Specify Project Experiments
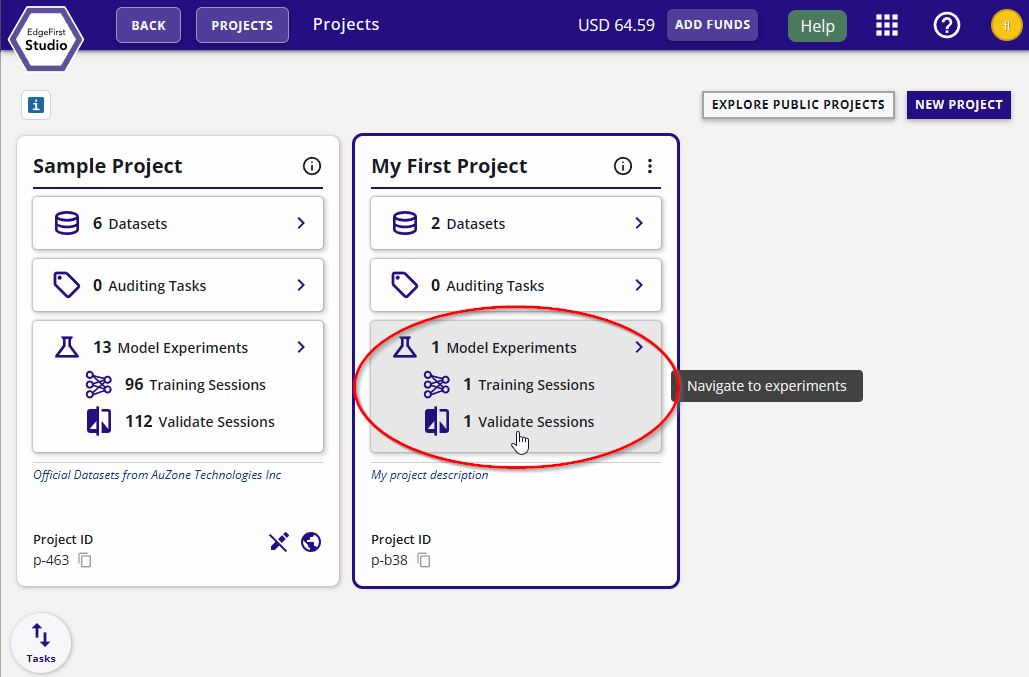
From the Projects page, choose the project that contains the training session with the models you want to validate. In this example, the project chosen is called "My First Project". Next click the "Model Experiments" button as indicated in red.
Create Validation Session
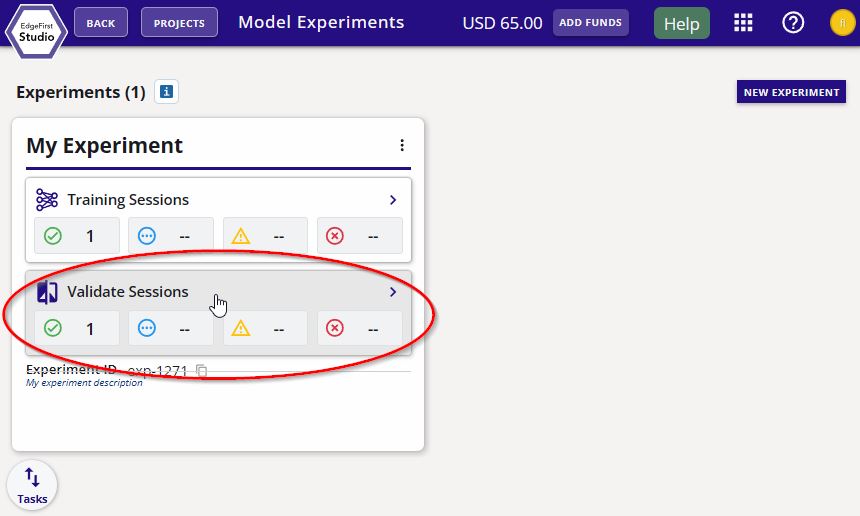
In the experiment card, click the "Validate Sessions" button as indicated in red below.
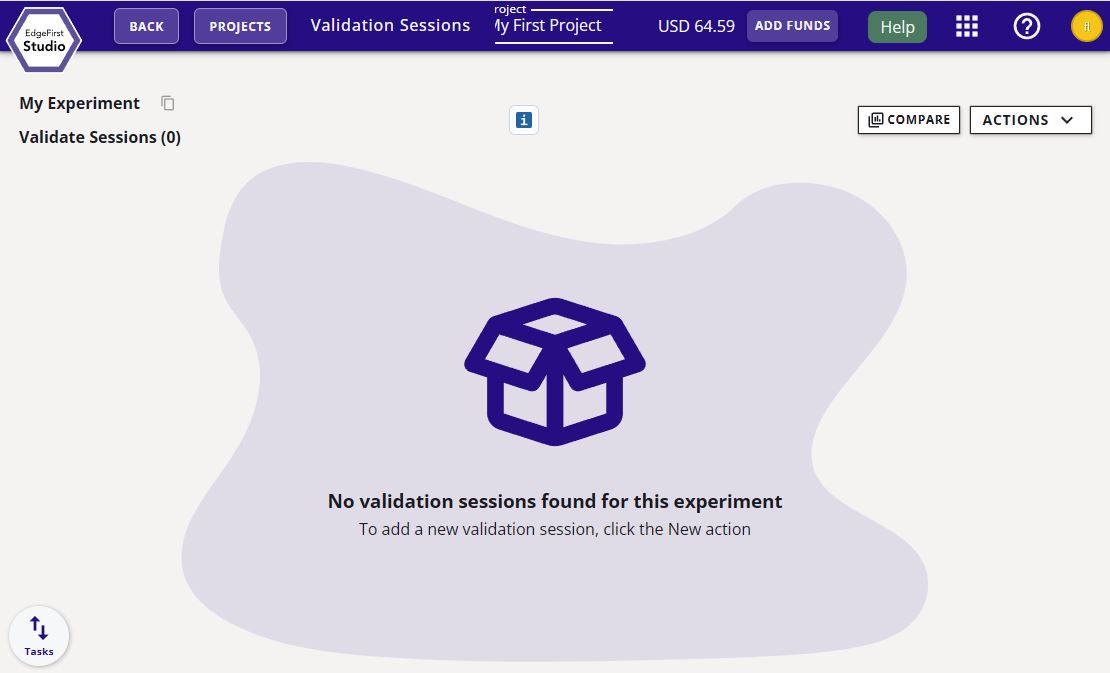
You will be greeted to the "Validate Sessions" page as shown below.
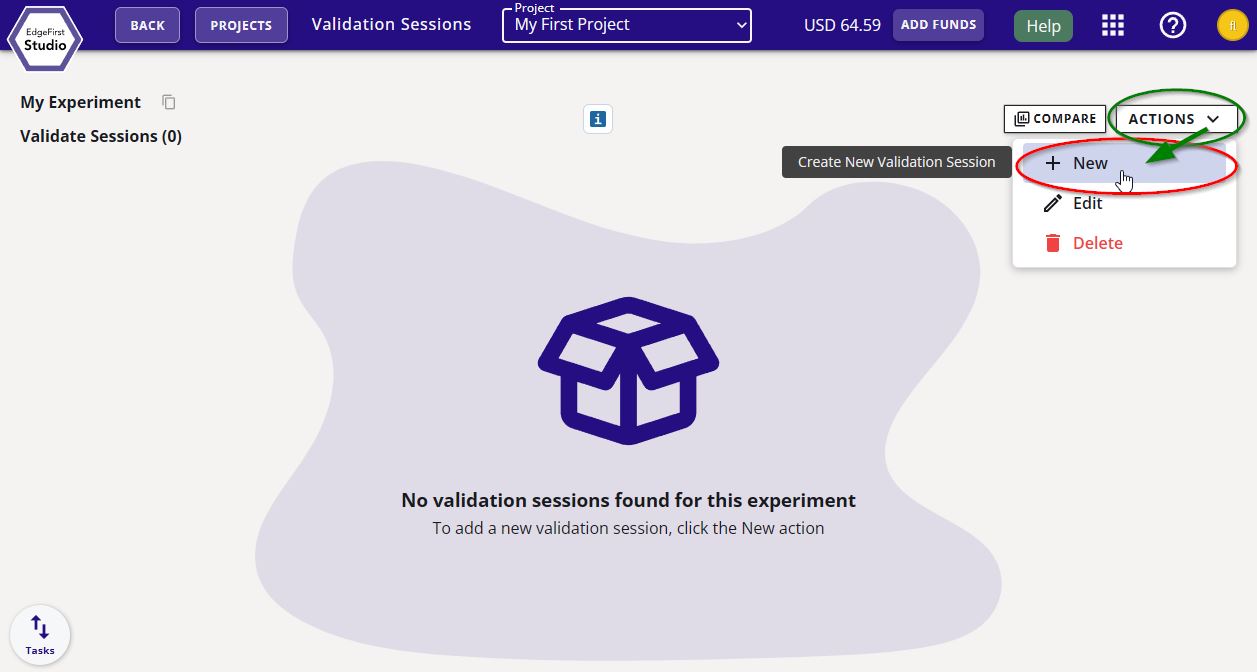
Start a validation session by clicking on the "Actions" button on the top right corner of the page and then click "+ New" as indicated.
You will be greeted with the validation session dialog. In this dialog, specify the name of the validation session, the model to validate, and the dataset to deploy. Under the model selection, you can select various trained model artifacts from the choices of ONNX, TFLite, etc. Choose the model you plan to deploy on target. The purpose of validation is to assess the model of whether or not it meets the performance requirements needed to be deployed on target. Next specify, the validation parameters such as the detection window size and the detection threshold. Additional information on these parameters are provided by hovering over the info button  .
.
The only augmentation available for this type of validation is blur. See Vision Augmentations for further details.
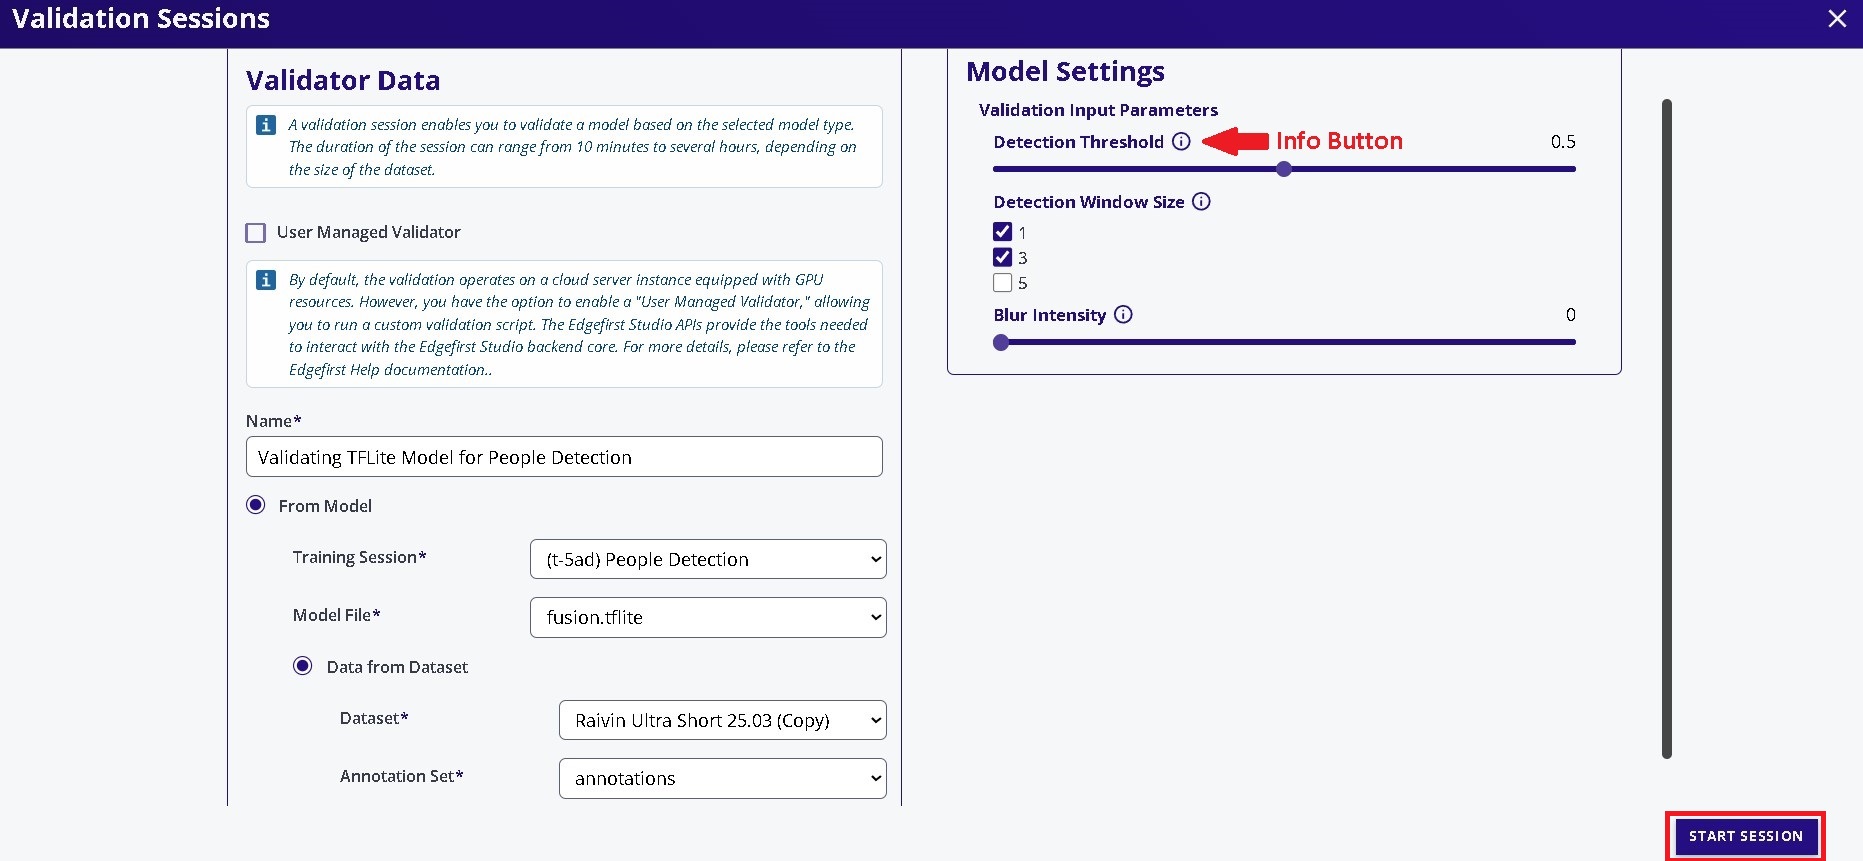
Once the configurations have been made, go ahead and click on the "Start Session" button on the bottom right of the window. This will start the validation session which will validate the model using the validation partition of the dataset.
InsufficientInstanceCapacity

If you see this error after starting your validation session, retry creating the session. This can happen when AWS reports that no EC2 instances are currently available to launch; the current workaround is to retry.
Session Progress
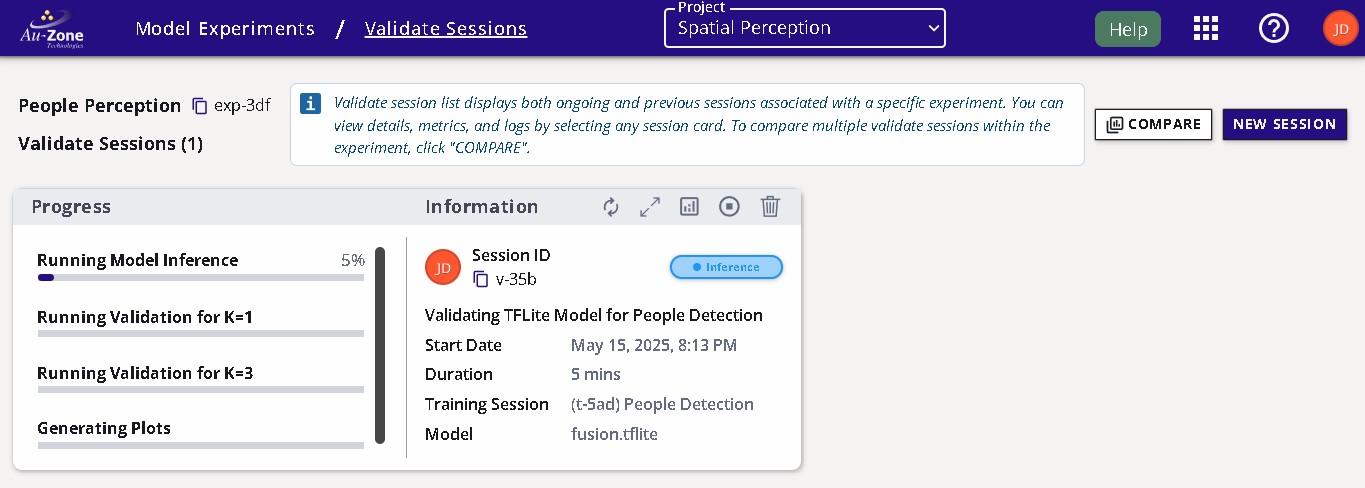
Once the validation session has started, the progress with the stages will be shown on the left and additional information and status is shown on the right.
Completed Session
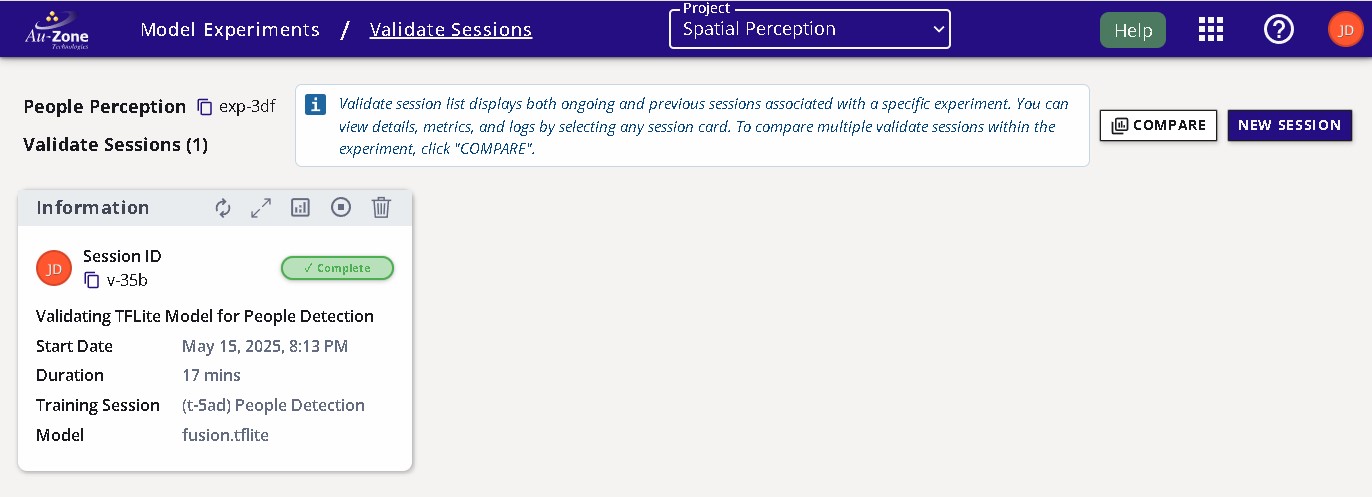
The completed session will look as follows with the status set to "Complete".
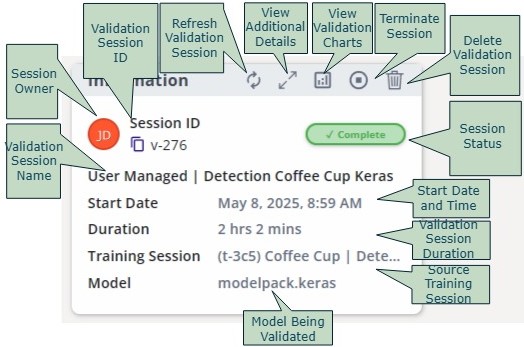
The attributes of the validation session are labeled below.
Validation Metrics
Once the validation session completes, you can view the validation metrics by clicking the "View Validation Charts" button on the top of the session card.
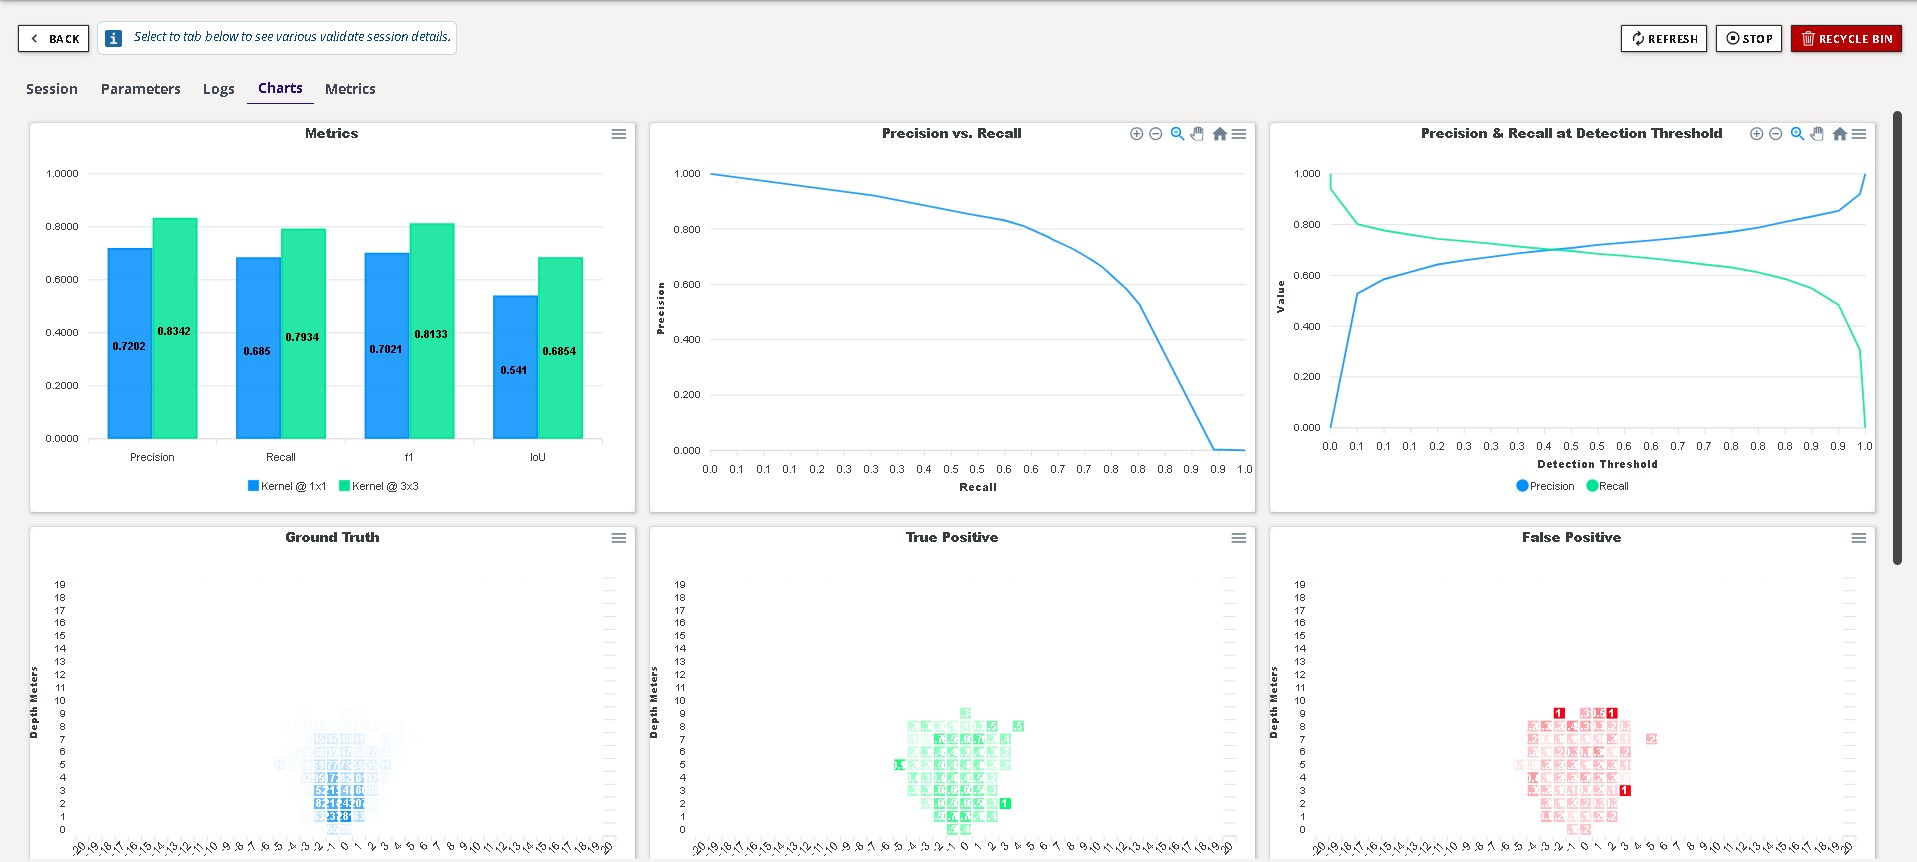
The metrics provides the precision, recall, F1, and IoU scores of the model at the specified window sizes. Additional charts are provided for the Precision versus Recall and bird’s-eye view heatmap describing where the model performs well and where the model makes errors.
Info
See Fusion Metrics for further details.
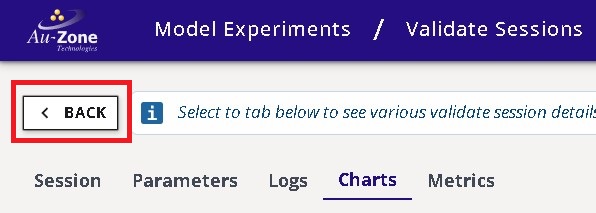
You can go back to the validation session card by pressing the "Back" button as indicated in red below on the top left corner of the page.
Comparing Metrics
It is also possible to compare validation metrics for multiple sessions. See Validation Sessions in EdgeFirst Studio Overview for further details.
Next Steps
Now that you have validated your Fusion model, follow these next steps for deploying your Fusion model on a Raivin Platform.