Convert to TensorRT
The following outlines the basic steps required to convert a model to TensorRT format. For detailed information about the conversion process and available configuration options, refer to the TensorRT Converter.
Once the model is trained in EdgeFirst Studio, you will find "

This tutorial will provide the steps for converting the ONNX model to TensorRT. Although it is possible to deploy the ONNX model, we recommend converting this model to TensorRT when deploying in the Jetson to maximize the performance of the model. We find that the converted TensorRT model is ~1.3x faster than ONNX with the TensorRT execution provider.
Conversion has two stages: EdgeFirst Studio packages the ONNX model and supporting files into a portable .tensorrt.zip bundle, and then build.sh runs on the target Jetson to compile the engine. The bundle itself is portable across machines; the resulting .engine is hardware-specific and must be built on (or for) the device that will run it.
Native cross-compilation support
Native cross-compilation of TensorRT engines is in progress and will eliminate the second on-device build stage when available.
-
Click on the completed training session.
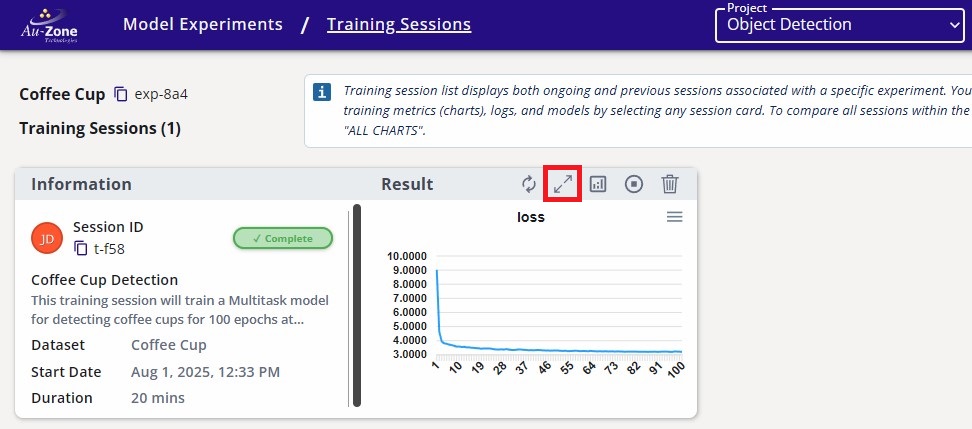
Completed Training Session -
Navigate to the Artifacts tab and click the TensorRT Converter button under Converters on the right.
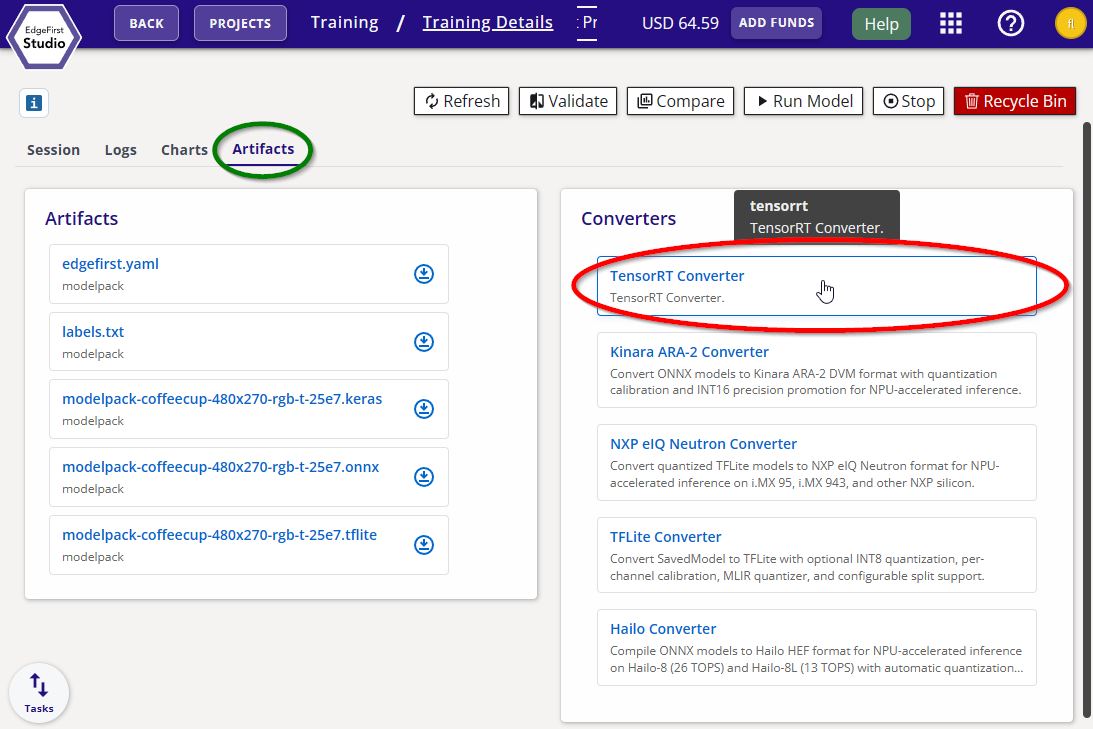
TensorRT Converter -
Click Start App to begin the conversion. The launch form has no settings — the output is a portable bundle, not a final engine.
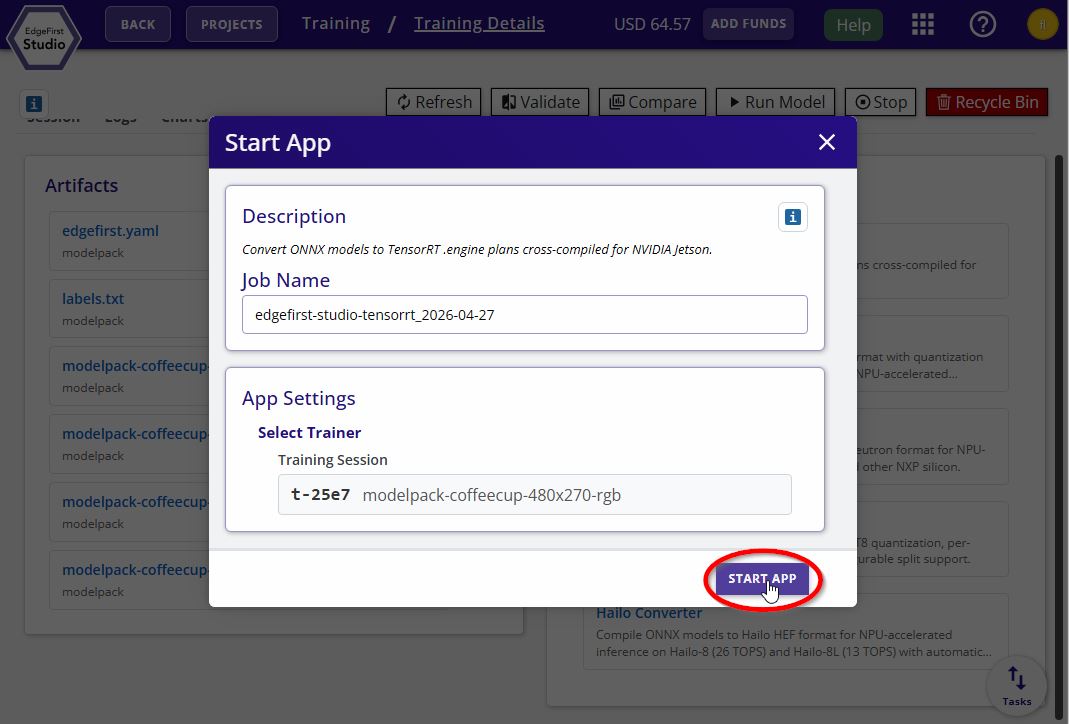
TensorRT Converter Options -
Download the resulting
<model>.tensorrt.zipbundle from the session's Artifacts tab.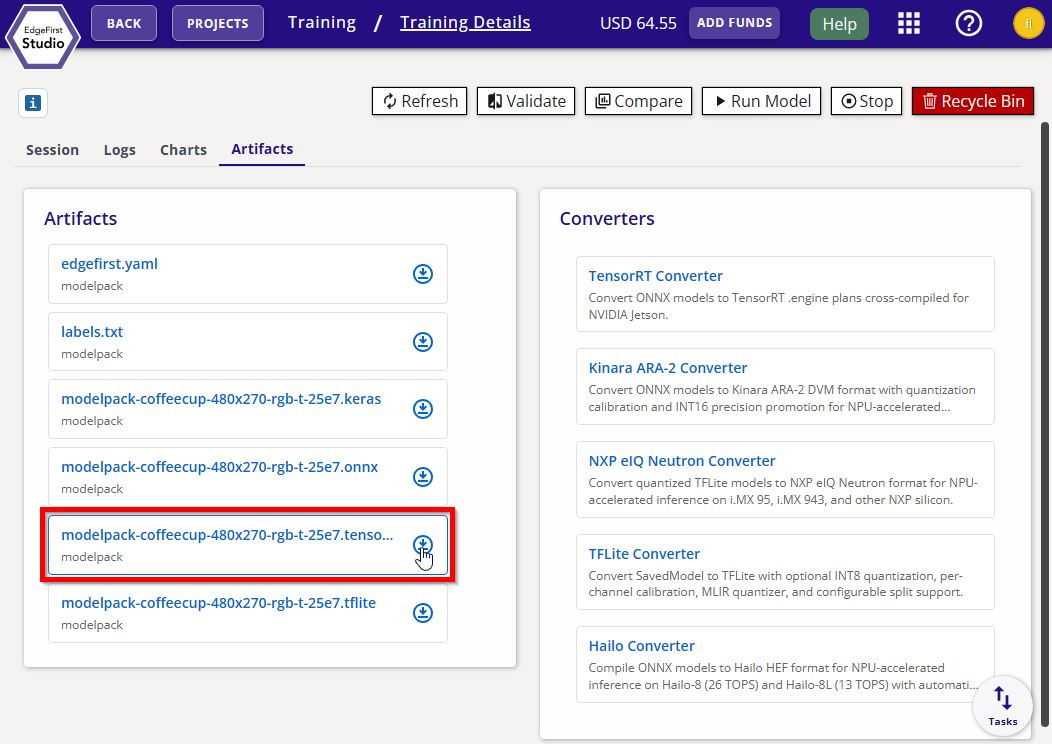
TensorRT Converter Bundle -
Copy the bundle to the Jetson via SCP:
scp <model>.tensorrt.zip username@hostname:~/ -
On the Jetson, unzip the bundle into a folder:
unzip -d <model>/ <model>.tensorrt.zip -
Enter the extracted folder:
cd <model>/Prerequisites
Steps a and b ensure the required binaries are on
PATH. Steps c and d authenticate the--publishupload to EdgeFirst Studio.-
Ensure the
trtexecbinary is onPATH:$ export PATH=$PATH:/usr/src/tensorrt/bin -
Ensure
jqis installed:$ sudo apt install -y jq -
Install the edgefirst-client package:
$ pip3 install edgefirst-client -
Log in to EdgeFirst Studio:
$ edgefirst-client login
-
-
Compile the bundle into a TensorRT engine with
--publishto push the sealed artifact back to EdgeFirst Studio.Run the build:
./build.sh fp16 --publishThe script verifies
trtexec,jq, andpython3are onPATH(all default on JetPack 6.2), then:- Calls
trtexec --onnx=model.onnx --fp16 --saveEngine=<name>.fp16.engine. - Updates
edgefirst.jsonwith on-target build values viajq(precision, enginesha256, build timestamp, on-device TRT version, builder flags). - ZIP-appends
edgefirst.jsonandlabels.txtto the engine using Python'szipfilemodule. - If
--publishis set, uploads the sealed engine to Studio viaedgefirst-client upload-artifact. See the edgefirst-client page for more.
The output is a sealed
.fp16.enginewith metadata readable by any ZIP reader; the TensorRT deserializer ignores trailing bytes. - Calls
-
The compiled
<model>.fp16.engineis now ready to deploy. The artifact is also available in the Studio session for re-download to other compatible devices. Verify the engine loads successfully with:trtexec --loadEngine=<model>.fp16.engine --iterations=100
Now that you have converted the ONNX model to TensorRT, you can validate the performance of this model on the Jetson Orin.