Capture with a Phone
The examples below will show recording of a five second video and image captures of coffee cups using a phone for training a Vision model that detects coffee cups. However, you can choose any type of objects in your dataset.
Data Usage
It is recommended to use a phone connected to a Wi-Fi network. A device connected to mobile data might be subject to intense usage when uploading files; video files or image files can be large in size. In the examples below, the video file used was ~15MB and the image files were ~2MB each.
Limited Datasets
The example below uses a small video recording and only a handful of images. While this is sufficient for demonstrating the workflow, training a model on a limited dataset will typically result in poor performance when deployed in real-world conditions that differ from the training samples.
To improve model robustness and generalization, it is recommended to collect training data across a variety of conditions, backgrounds, lighting environments, and object variations. As a general guideline, a minimum dataset size of approximately 1,000 images or video frames is recommended, although the optimal size depends on the complexity of the task.
Device UI May Vary
The video and image capture screenshots shown in this guide were taken on a Samsung smartphone. Camera app layouts, button locations, labels, and available options may differ on other devices and operating system versions. For device-specific steps, refer to your phone manufacturer documentation or device manual.
Record Video
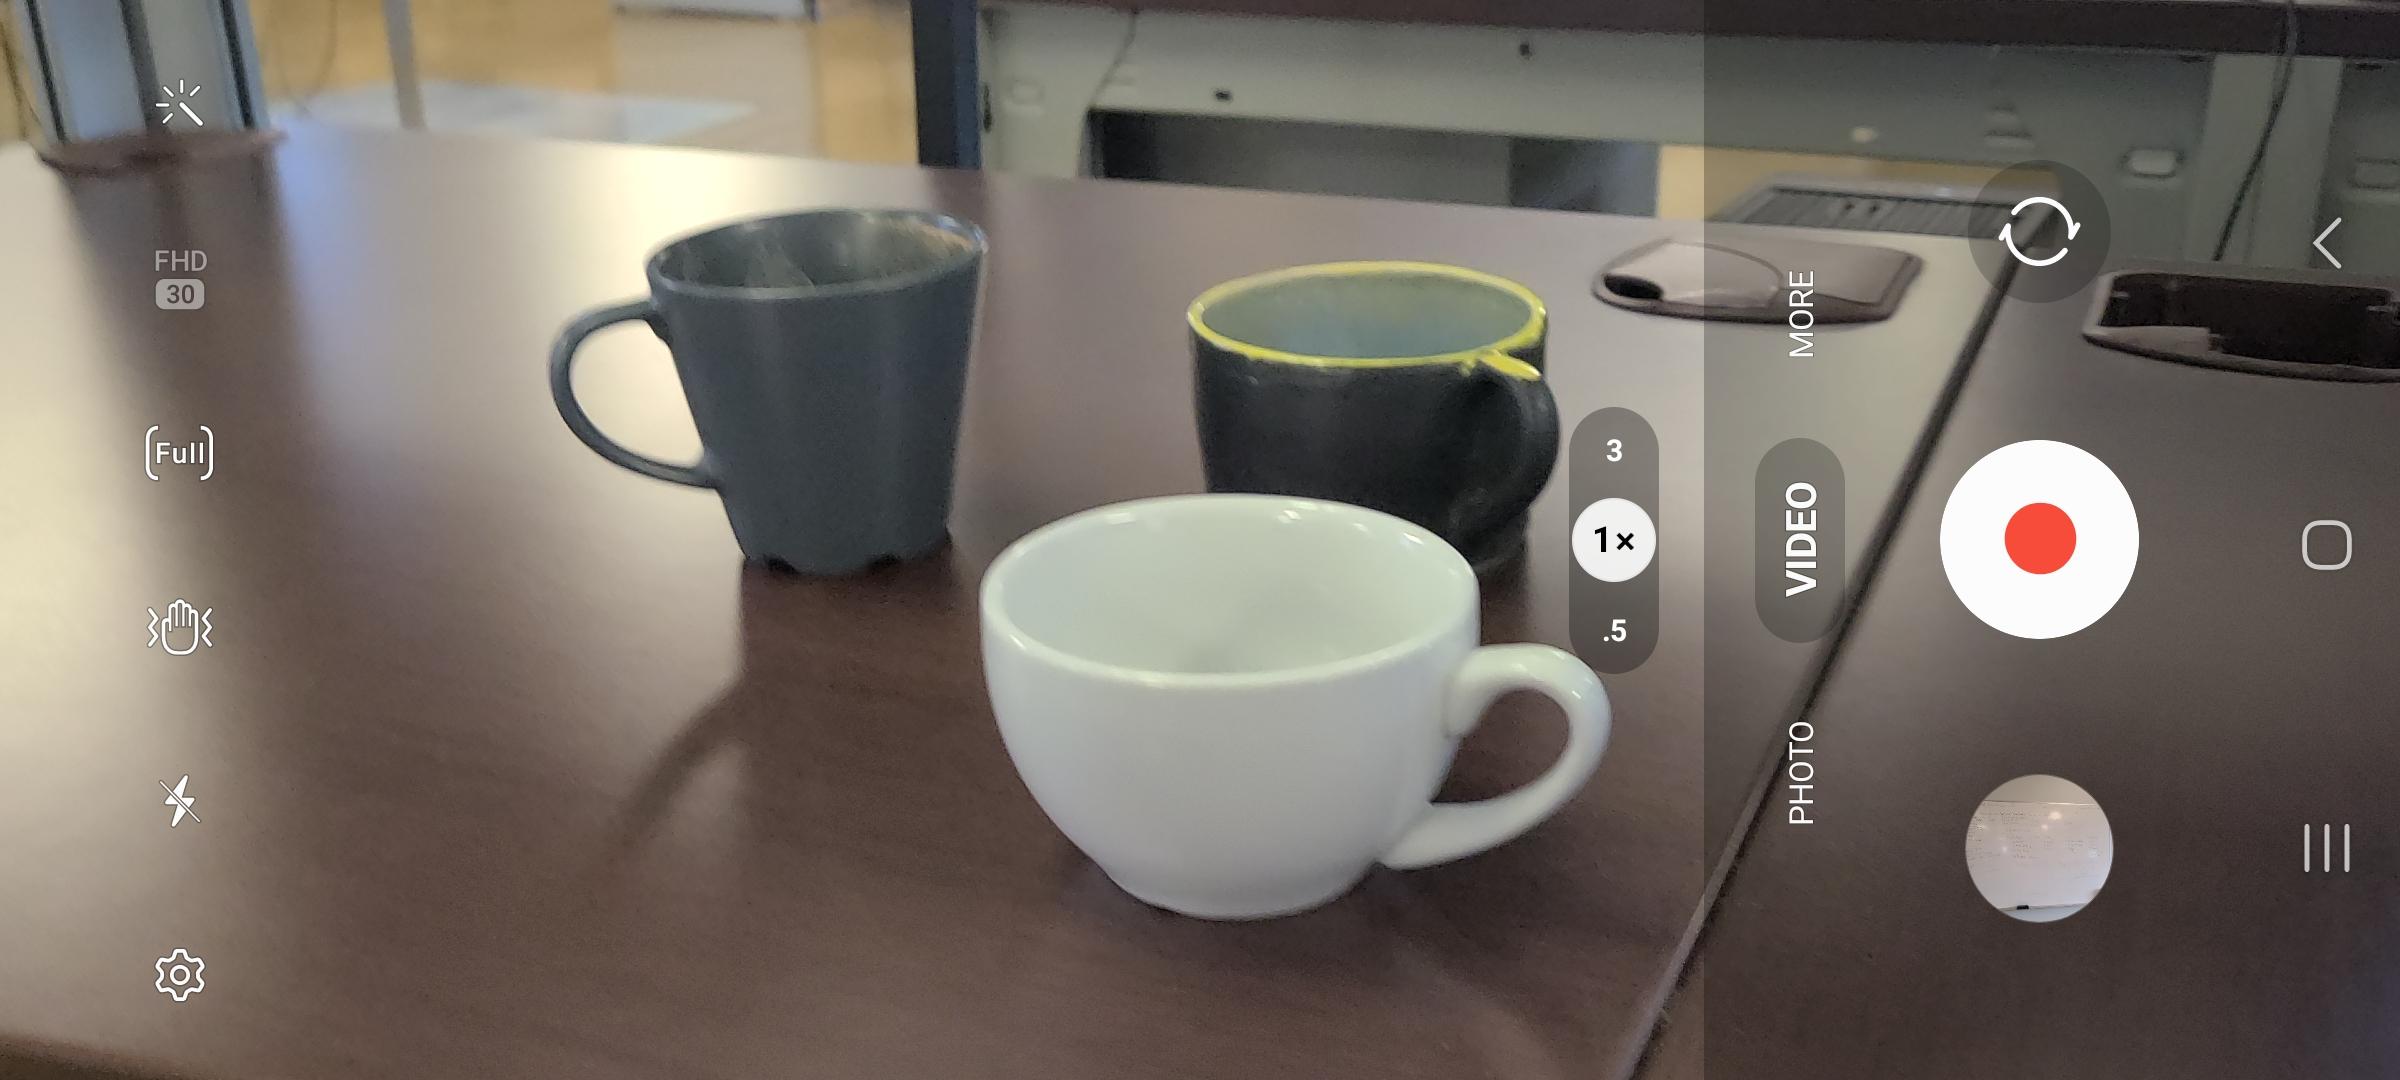
Using a smartphone, try to record a 30 second or more video with the camera application showing various orientations of coffee cups. Typically, the video recording can be started by pressing the red circular button. The video can be stopped by pressing the same button again.
Capture Images
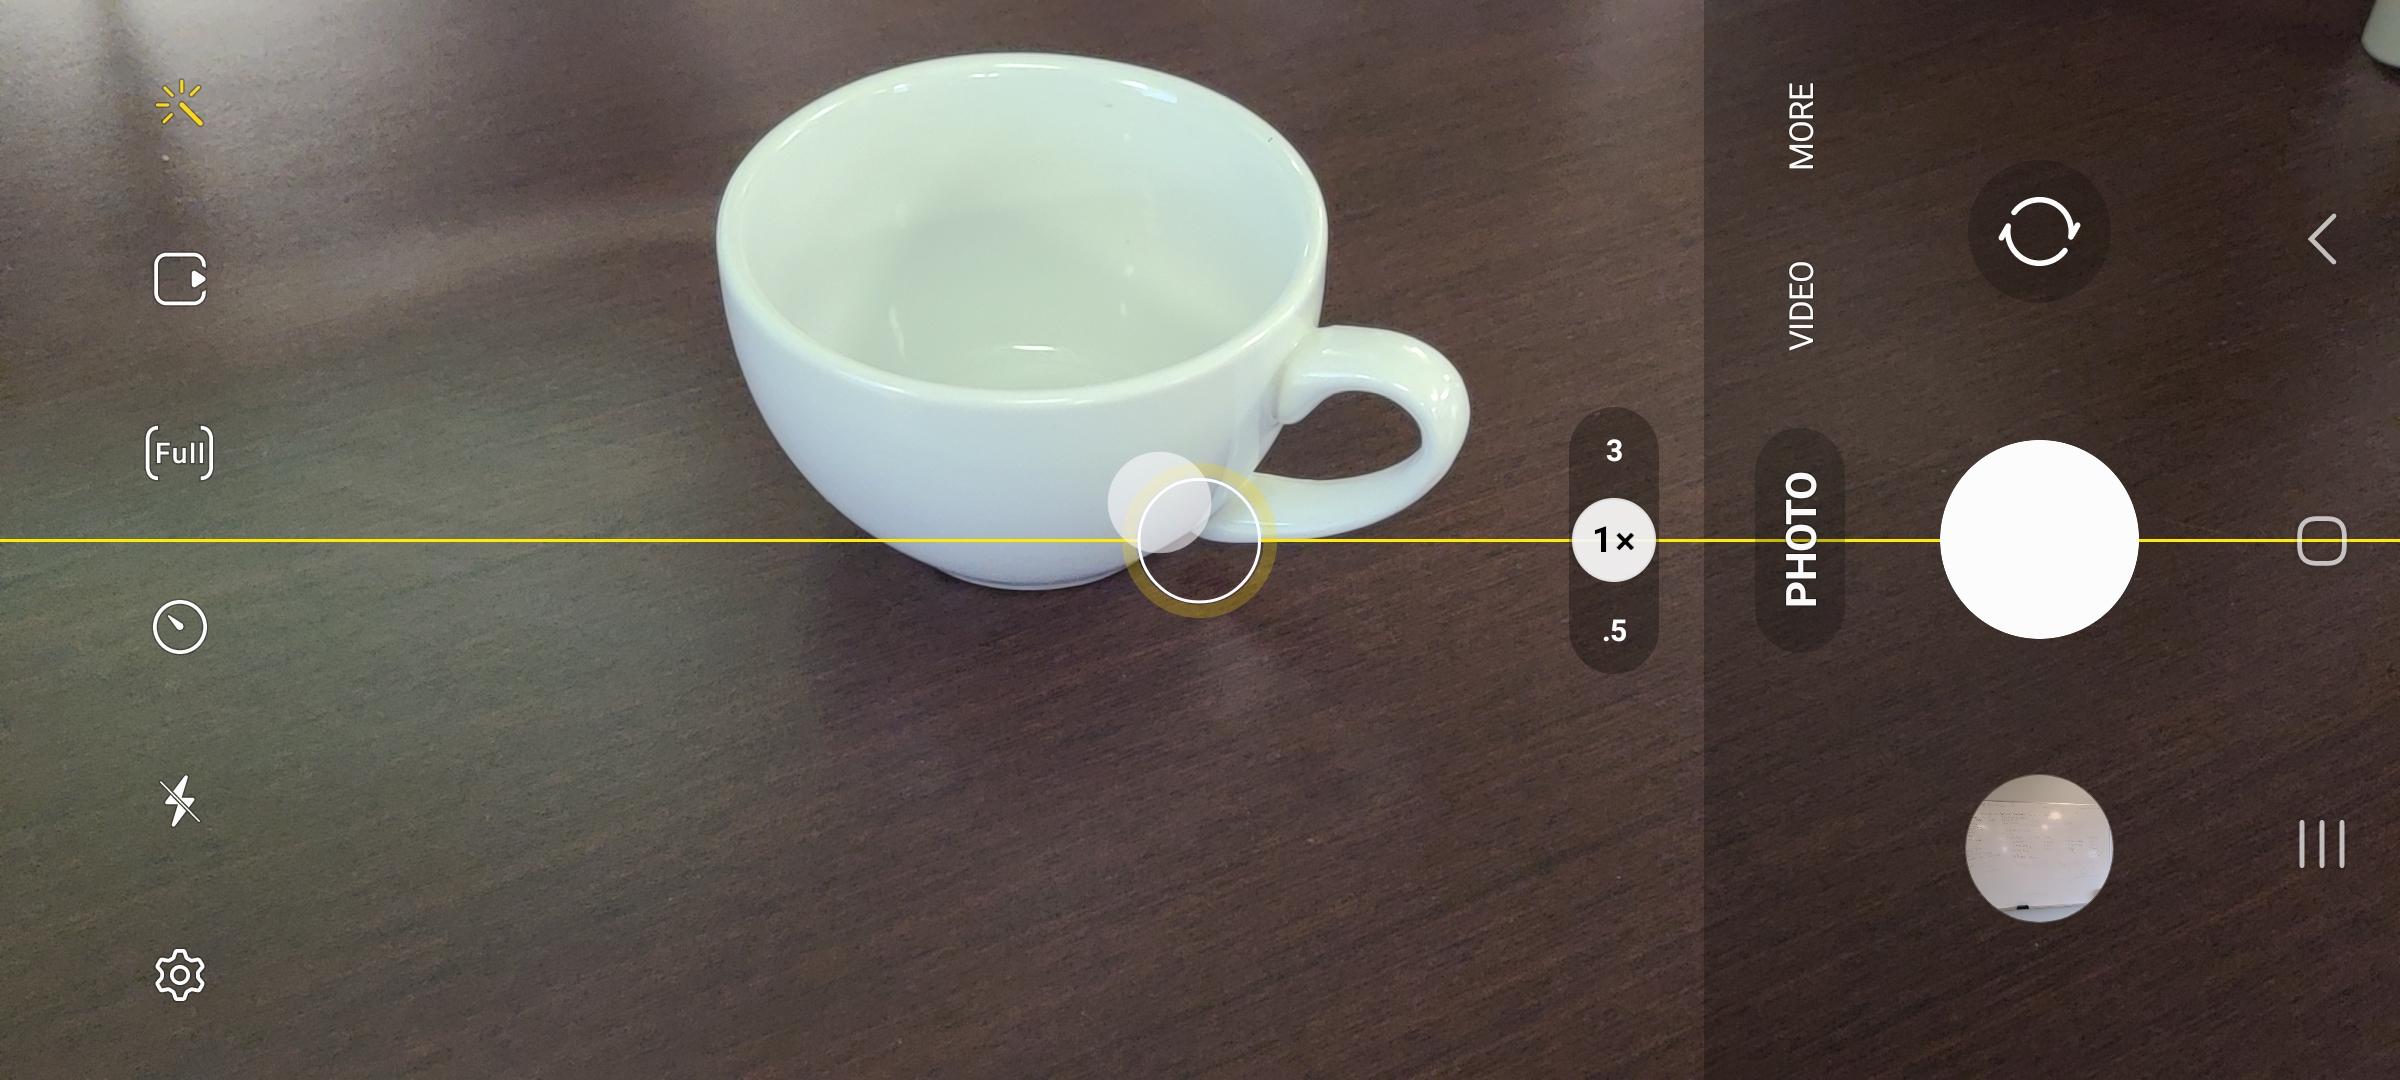
Furthermore, you can also capture individual images as shown below. You can take image snapshots from the camera by pressing the white circular button.
Leveraging Videos
It is recommended to use videos rather than individual images. This is because the Automatic Ground Truth Generation (AGTG) feature leverages SAM-2 with tracking information which only needs a single annotation to annotate all frames. However, individual images requires more effort by annotating each image separately.
Create Dataset
If you have a video recording or sample images for your dataset, you can create a dataset container in EdgeFirst Studio to contain your video frames or images and annotations.
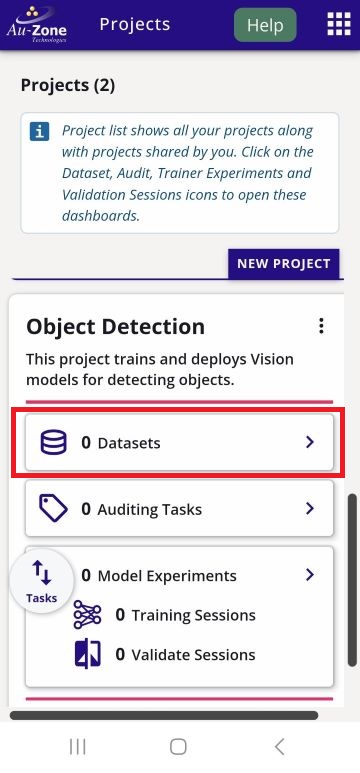
Navigate to a web browser and login to EdgeFirst Studio. Once logged in to EdgeFirst Studio, navigate to your project. In this case the project name is "My First Project". Click on the "Datasets" button that is indicated in red below.
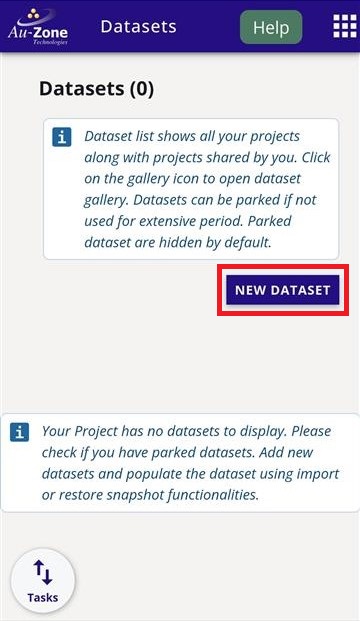
This will bring you to the Datasets Dashboard of the selected project. Create a new dataset container by clicking the "Actions" dropdown on the top right and then click the "New" button that is indicated in red.
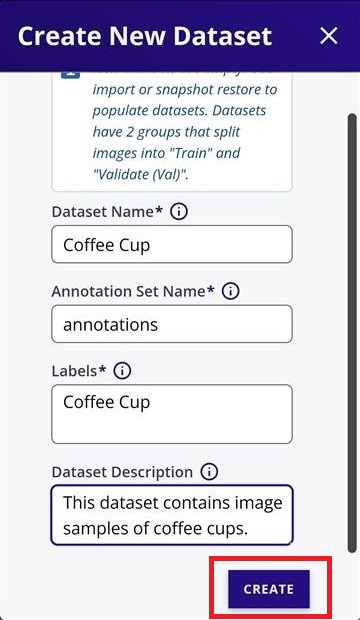
Enter a name for the dataset and annotation container, specify the labels, and provide a dataset description in the fields shown below. The values are entirely up to you and do not need to match the example. Once all required fields have been completed, click "Create" to create the dataset.
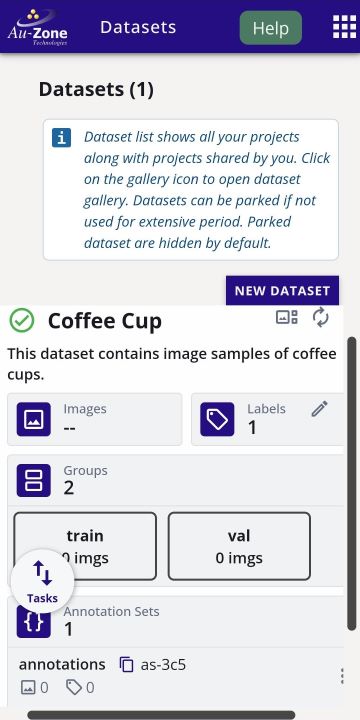
Your created dataset will look as follows.
Upload Video
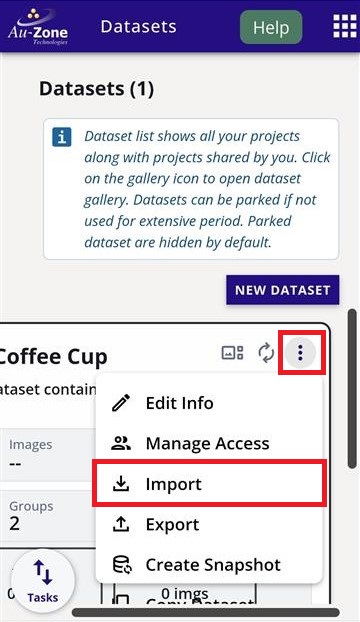
Video files can be uploaded into any dataset container in EdgeFirst Studio. Choose the dataset container to upload the video file. In this case, the dataset is called "Coffee Cup". Click on the dataset context menu (three dots) and click "Import".
This will bring you to the "Import Dataset" page.
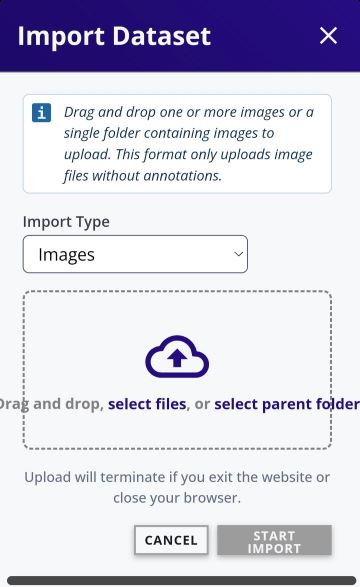
Click on the drop-down that says "Import Type" and then specify "Videos" and then click "Done" as shown below.
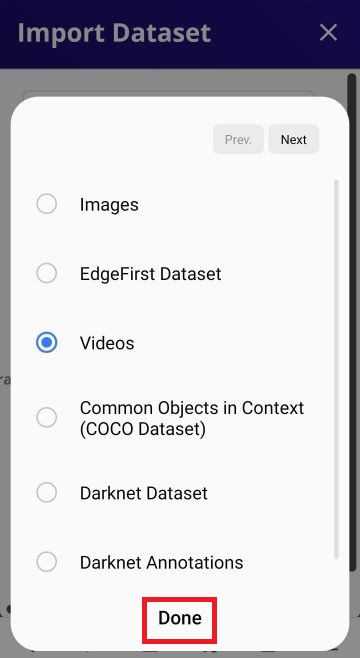
Now that the import type is specified to a "Videos", click on "select files" as indicated.
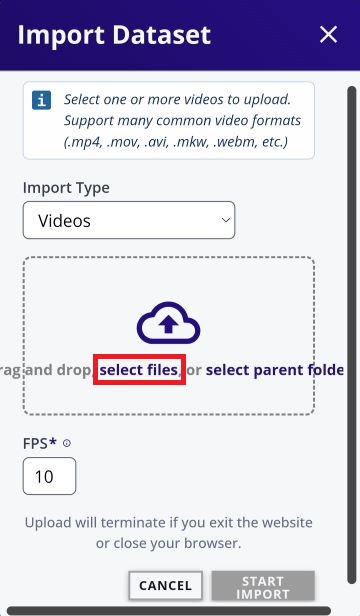
On an android device, this will bring up the option to specify the location of the files.
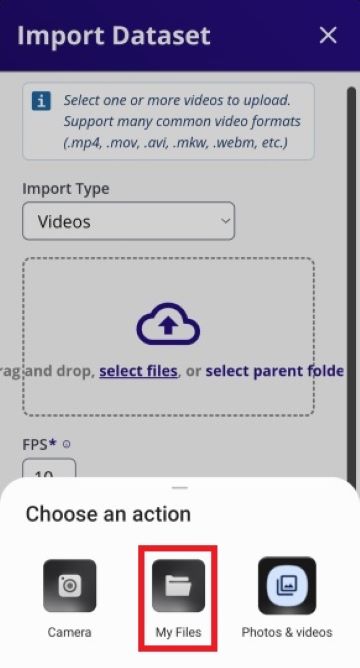
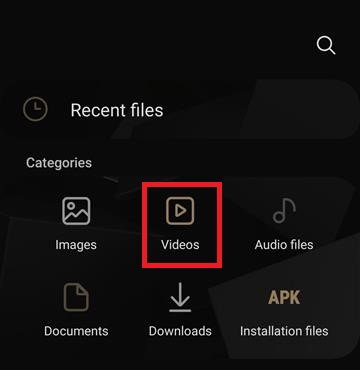
In my current setup, I have selected "My Files" from the options above and then "Videos" which will allow me to pinpoint the location of the video I have recorded.
After selecting the video file, the FPS (frames per second) value is automatically set to 1 by default. You may adjust this value to match your desired frame extraction rate. When ready, click Start Import to begin importing the video.
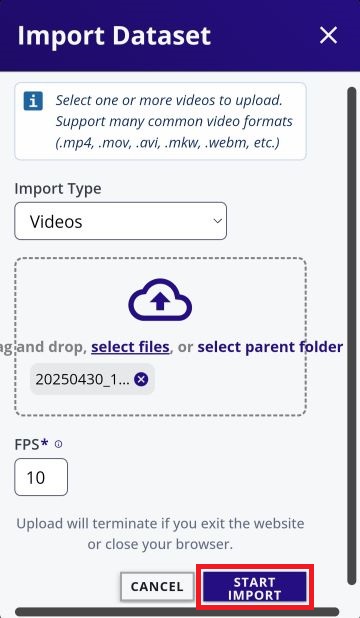
This will start the import process. For a 30-second video, the import typically takes about 2 minutes to complete.
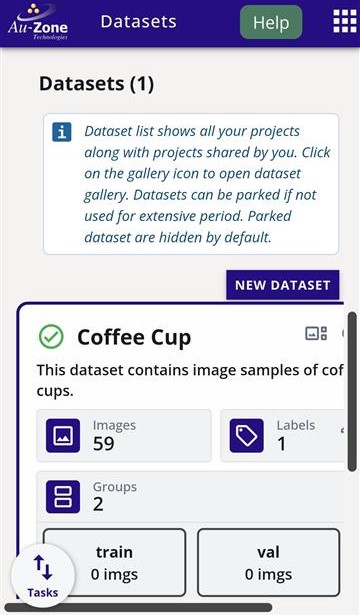
Once the import finishes, the number of images in the dataset should increase to reflect the newly imported frames. If the dataset does not appear to update, refresh the browser to view the latest changes.
Upload Images
HEIC is not fully supported
Apple devices capture HEIC image formats by default. This format has not been fully supported yet in EdgeFirst Studio. Please make sure to use JPEGs, JPGs, or PNGs for uploading images to EdgeFirst Studio.
Image files can be uploaded into any dataset container in EdgeFirst Studio. Choose the dataset container to upload image files. In this case, the dataset is called "Coffee Cup". Click on the dataset context menu (three dots) and select import.
This will bring you to the "Import Dataset" page.
Click on "select files". This will bring up the option to specify the location of the files.
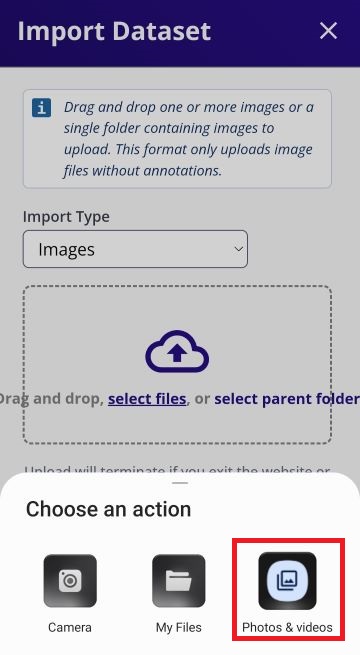
In my current setup, I have selected "Photos & Videos" from the options above and then I have multi-selected the images I want to import by press and hold on a single image to enable multi-select. To import, I pressed "Select".
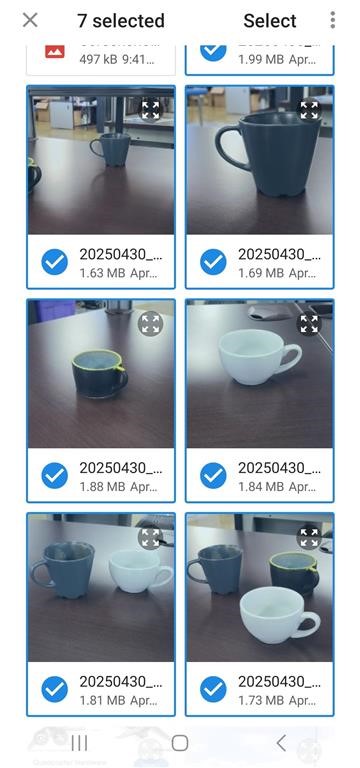
Once the image files have been selected, click on "Start Import" to start the import process.
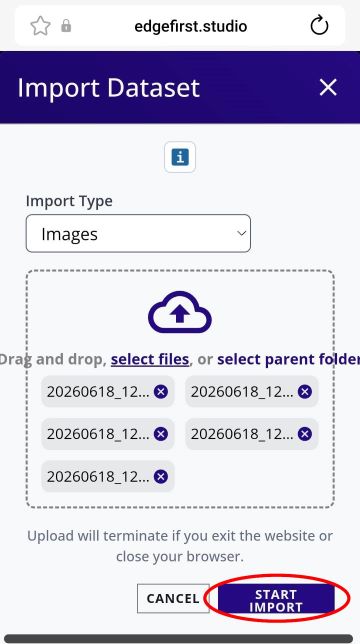
The progress for the image import will be shown.
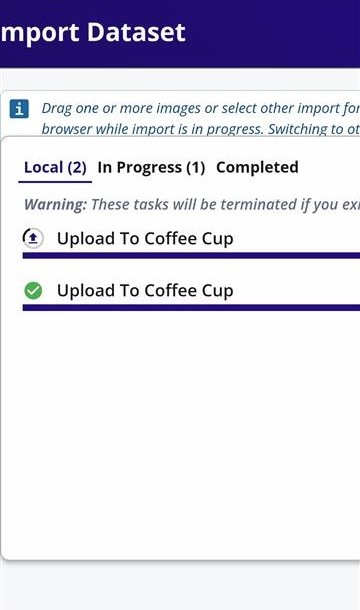
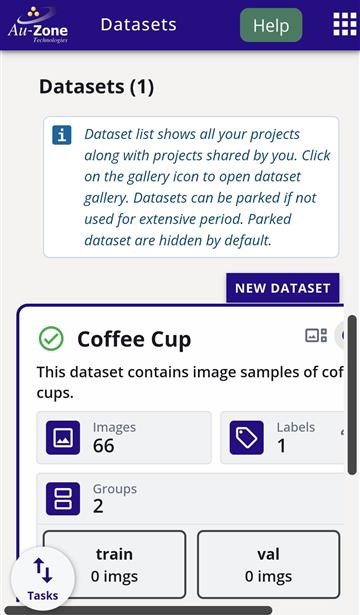
Once it completes, you should see the number of images in the dataset increase by the amount of selected images. If you do not see any changes, refresh your browser.
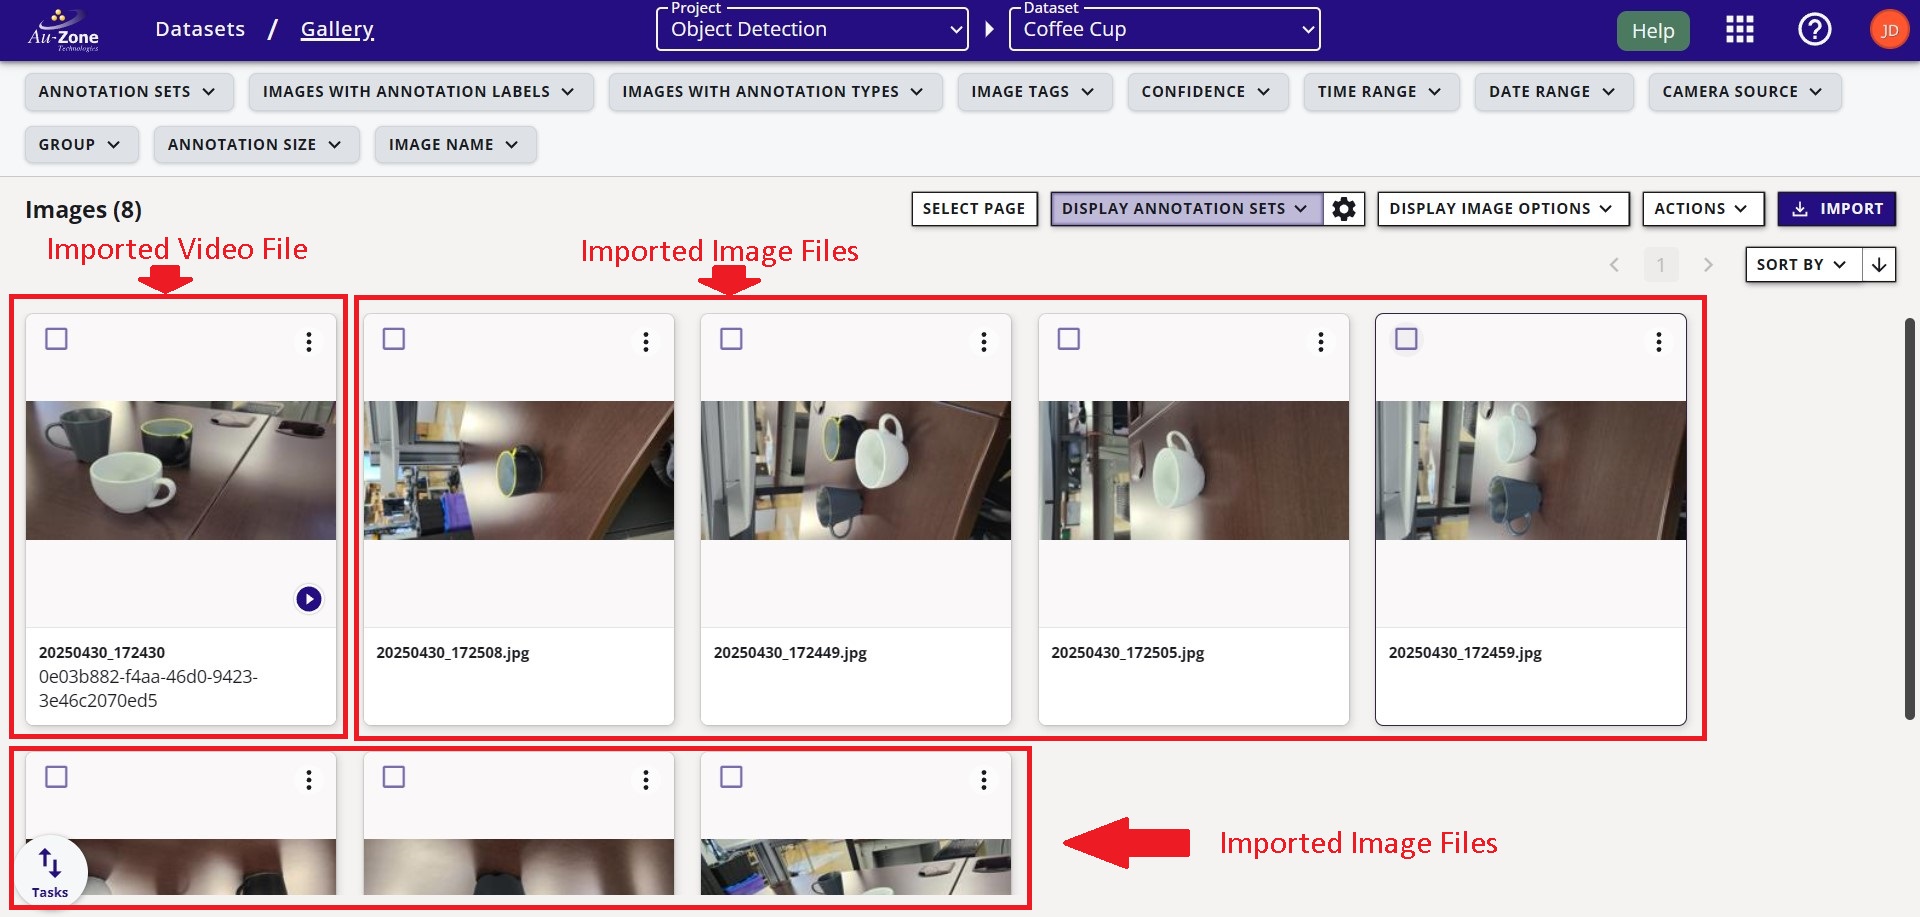
Next view the gallery of the dataset to confirm all the captured data has been uploaded. You should see the imported video file and images in the gallery. Note that videos appear as sequences with a play button overlay on the preview thumbnail.
Now that you have imported captured images or videos into EdgeFirst Studio you can now start annotating your data as shown in the next section below.