Command-Line Interface
edgefirst-client is the command-line tool for interacting with EdgeFirst Studio. Install it together with the Python API:
pip install edgefirst-client
edgefirst-client version
For the full command listing, see the CLI reference.
Global options
| Option | Environment variable | Description |
|---|---|---|
--server |
STUDIO_SERVER |
Server name (saas, test, stage; default production) |
--username |
STUDIO_USERNAME |
Username for authentication |
--password |
STUDIO_PASSWORD |
Password for authentication |
--token |
STUDIO_TOKEN |
Authentication token (server embedded in JWT) |
--token-path |
STUDIO_TOKEN_PATH |
Override default token file location |
-v / -vv |
— | Debug / trace logging |
Server selection priority:
- Token's server (highest) — a valid stored or provided JWT determines the server
--serveroption — used when logging in or when no token is available- Default
saas—https://edgefirst.studio
Authentication
Log in interactively (recommended):
edgefirst-client login
Token storage locations:
- Linux:
~/.config/EdgeFirst Studio/token - macOS:
~/Library/Application Support/ai.EdgeFirst.EdgeFirst Studio/token - Windows:
%APPDATA%\EdgeFirst\EdgeFirst Studio\config\token
Other auth commands:
edgefirst-client logout          # remove cached token
edgefirst-client token           # print token (with --username / --password)
For automation, prefer STUDIO_TOKEN or STUDIO_USERNAME / STUDIO_PASSWORD environment variables instead of passing passwords on the command line.
After CLI login, Python code can reuse the cached token with Client() — see Tutorial 1: Authentication.
Coffee Cup quick examples
The public Coffee Cup dataset ds-145f is available on SaaS without a writable project:
# Inspect metadata, annotation sets, labels, and groups
edgefirst-client dataset ds-145f --annotation-sets --labels --groups

# Export validation annotations as Arrow
edgefirst-client download-annotations <as-id> coffee_cup.arrow --groups val

# Download validation images
edgefirst-client download-dataset ds-145f --groups val --types image \
    --output ./coffee_cup_images/
Resolve <as-id> from the dataset command output. See Tutorial 2 and Tutorial 4.
MCAP snapshot workflow
Upload sensor recordings from edge devices into EdgeFirst Studio via snapshots. This mirrors the UI workflow in Studio Snapshots and the AGTG tutorial.
Data format
The client works with the EdgeFirst Dataset Format. Snapshots are stored as ZIP + Arrow file pairs.
Create a snapshot
Upload an MCAP file or directory from a device:
edgefirst-client create-snapshot /path/to/recording.mcap
Example output:
[ss-abc123] available: recording.mcap
List snapshots:
edgefirst-client snapshots
For MCAP capture on Raivin hardware, see Perception MCAP recording.
Restore a snapshot
Warning
Restoring snapshots to datasets deducts funds from your EdgeFirst Studio account.
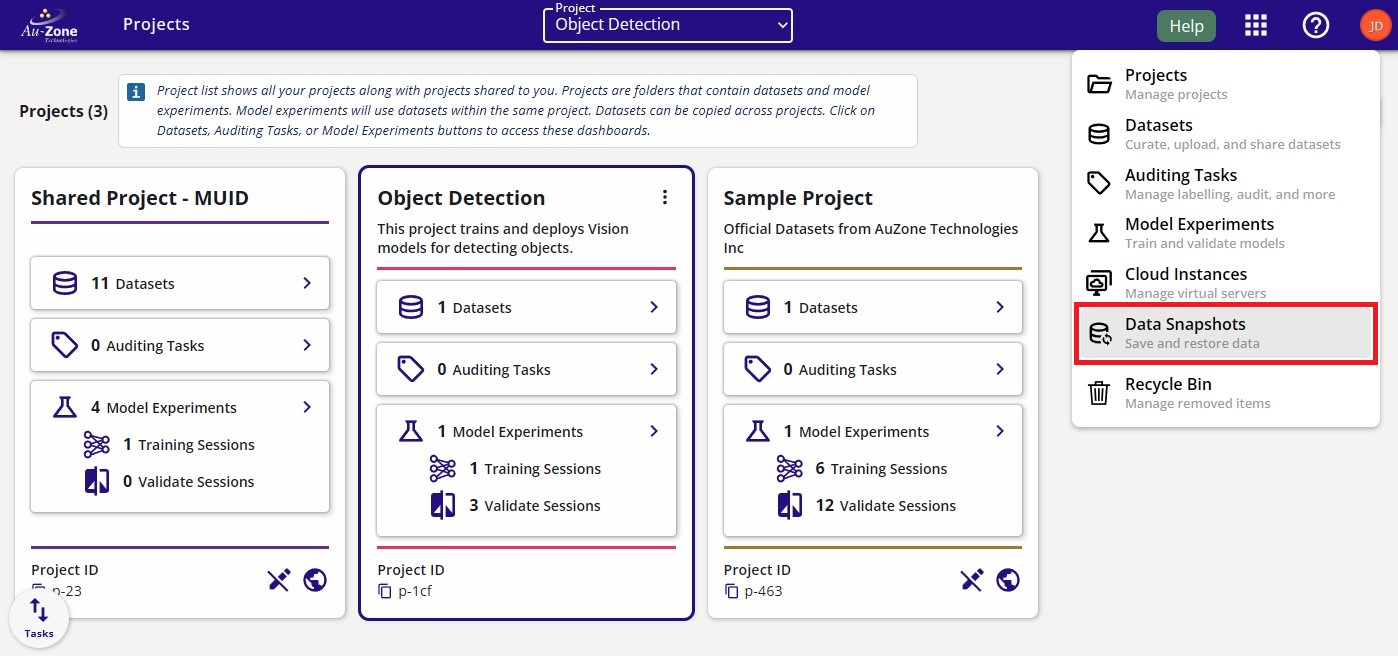
List projects and note the target project ID:
edgefirst-client projects
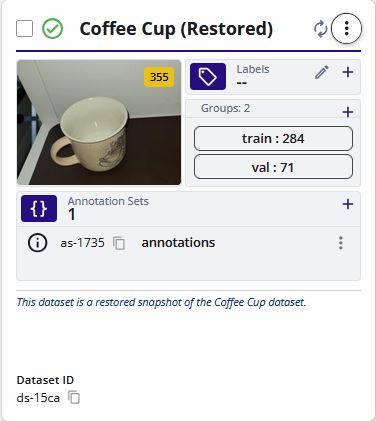
Restore the snapshot into a new dataset:
edgefirst-client restore-snapshot <PROJECT_ID> <SNAPSHOT_ID> \
    --dataset-name "My Dataset" \
    --dataset-description "Imported from MCAP" \
    --monitor
Optional flags:
--autolabel person,car— AGTG auto-annotation using COCO labels--autodepth— automatic depth map generation (Maivin/Raivin cameras)--topics— filter MCAP topics to include
edgefirst-client restore-snapshot p-628 ss-1816 \
    --dataset-name "Upload with AGTG" \
    --autolabel person,car --autodepth --monitor
Confirm the dataset exists:
edgefirst-client datasets <PROJECT_ID>
Next steps
- CLI reference — exhaustive command documentation
- Dataset import — COCO/LVIS, EdgeFirst format, Python API
- Python tutorials — hands-on API walkthroughs